Primary objective
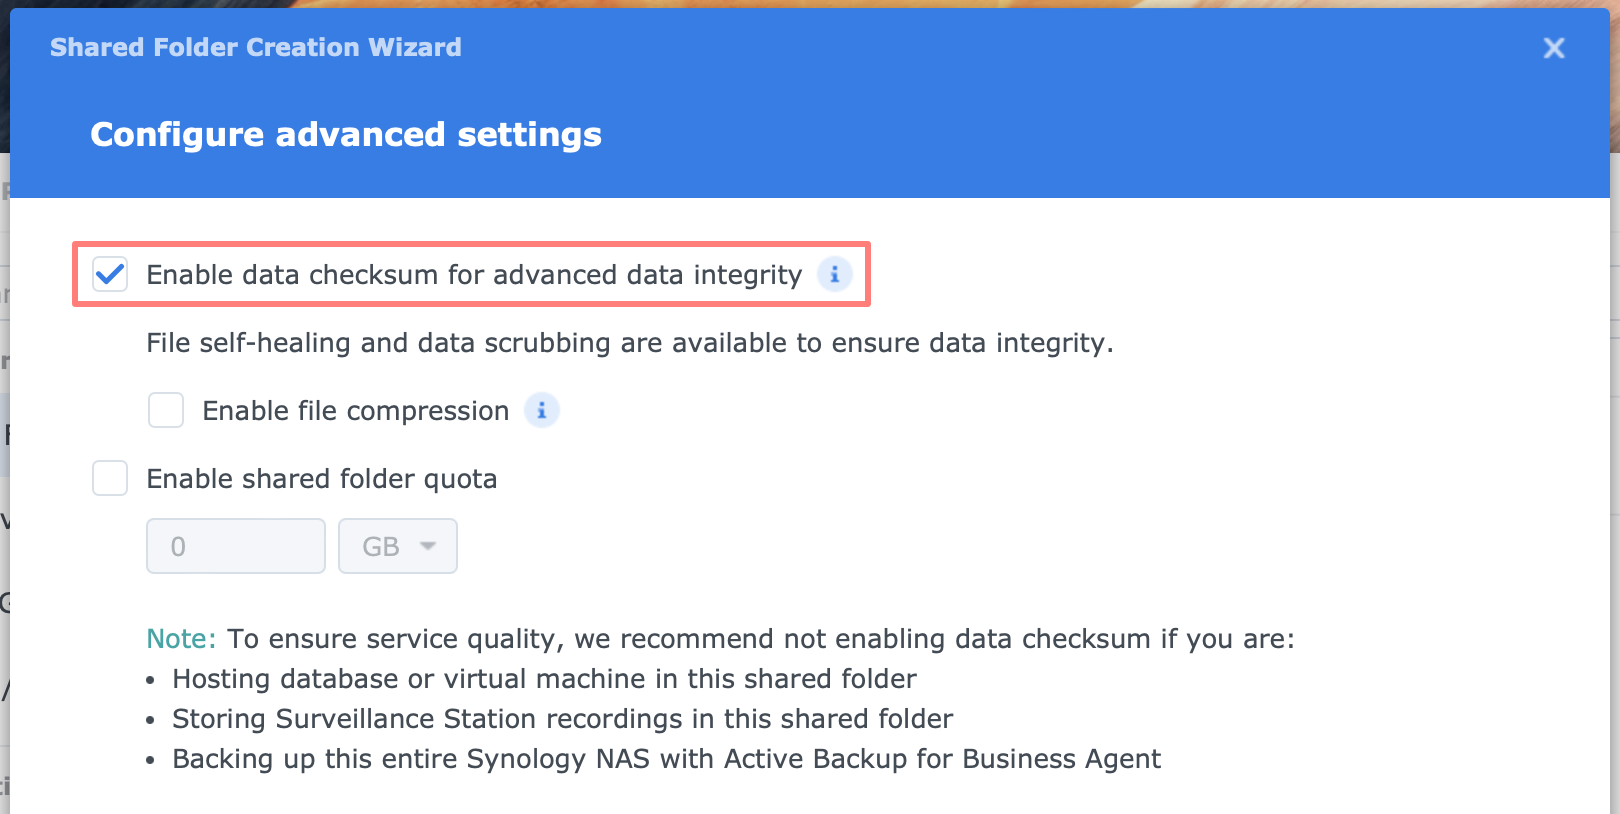
Learn how to fix a forgotten data checksum setting quickly. To improve data integrity, you enable the data checksum setting of a shared folder.
Secondary objective(s)
You enable data scrubbing to benefit from the data checksum and maintain data integrity.
Background
The data checksum setting of a shared folder helps to improve data integrity. You can enable it only during the shared folder’s creation. If you forget to enable it and would like to do so afterward, you can do so with a workaround.

The procedure in this post is not tested with shared folders that have snapshot replication enabled, are a Team folder inside Synology Drive Server, or are synchronized with Synology Drive ShareSync or Shared Folder Sync.
If either option applies, test with a separate shared folder first. Concerning a Team folder inside the Synology Drive Server, disable versioning before the procedure and enable it afterward.
Actions
All steps on the NAS require logging in to the DSM desktop with an administrator account.
There are twelve steps in this procedure to achieve the primary objective.
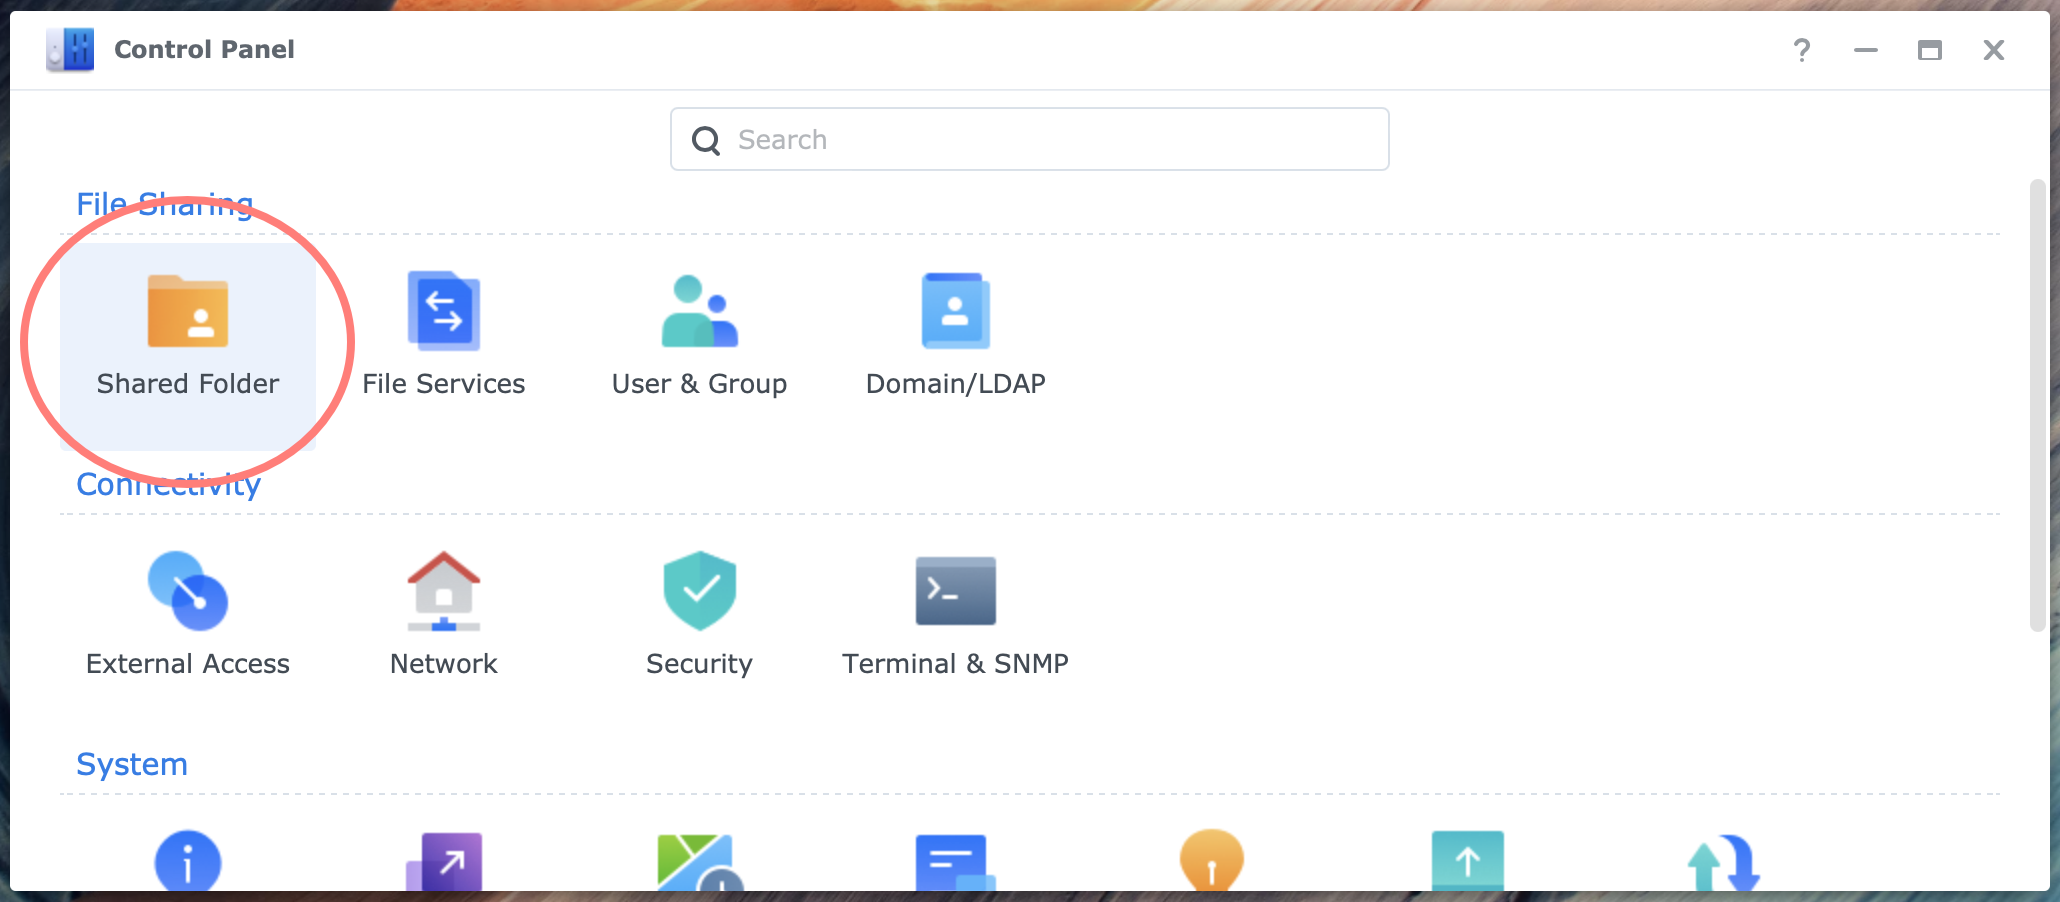
- Open Control Panel > Shared Folder
- Record the properties of the shared folder you would like to fix like recycle bin, permissions, and quota
- Create a new shared folder with a random name – I call it Dummy – and apply the same properties plus data checksum during creation
- Open File Station
- Select the old shared folder you like to fix
- Select its entire contents, excluding the snapshot and recycle bin folders if they exist
- Right-click on the selection, choose Copy to/Move to > Move to; in the Move to … – Please choose a destination, select the Dummy shared folder, and click OK to move the entire contents from the old to the new shared folder
- Wait until the move operation finishes; close File Station
- Open Control Panel > Shared Folder
- Edit the old shared folder; copy its name; click Cancel to close the dialog
- Delete the old shared folder
- Edit the new shared folder; rename by pasting the name of the old one to the new shared folder
- Log in from your workstation to the NAS and test the result
You achieved the primary objective. Repeat the steps for every shared folder you forgot to enable the data checksum setting.
There are seven steps in this procedure to achieve the secondary objective.
- Open Storage Manager
- Select Storage in the column at the left
- In the screen at the right, select the Schedule Data Scrubbing button
- In the Schedule Data Scrubbing screen, enable the data scrubbing schedule; select the storage pool to include in periodic data scrubbing; select the Frequency (suggestion: Repeat every six months)
- Optionally, enable Run data scrubbing only during specific periods; this allows you to run data scrubbing outside office hours
- In the Schedule Data Scrubbing screen, select Pause Data Scrubbing at the left, and mark the hours to pause in the grid; when finished, click OK
- Close Storage Manager and logoff
Congrats, you achieved both the primary and secondary objectives.
Thanks for reading
This post is donation-ware, and I made it to help you. Please consider leaving a comment or even buying me a coffee if it did. I will be eternally grateful.
Paul Steunebrink / Storage Alchemist
