Primary objective
Create a Hyper Backup data task to back up Synology NAS to USB disk.
Secondary objective(s)
Back up selected files and folders, application data, and configuration data with sufficient retention.
Background
A backup from one Synology NAS (source) to a USB disk (target) involves one application installed on the NAS and a USB disk connected to the NAS. The format of the disk must be writeable for the NAS.

The backup is stored in a catalog system and only readable by the backup application. With retention enabled, you can selectively restore previous versions from a history of backups.
For backing up a Synology NAS to another Synology NAS, please refer to How To Back Up Synology NAS To Another NAS.
Actions
There are seven steps in this procedure—an overview.
- connect the USB disk
- format the USB disk (optional)
- rename the shared folder that represents the USB disk (highly recommended)
- install Hyper Backup
- create a data task
- start the backup
- review the result
Detailed Steps On The NAS
All steps on the NAS require logging in to DSM with an administrator account. For a detailed discussion on connecting, formatting, and renaming the USB disk, please refer to Using USB Disk With Synology NAS.
Connect the USB disk
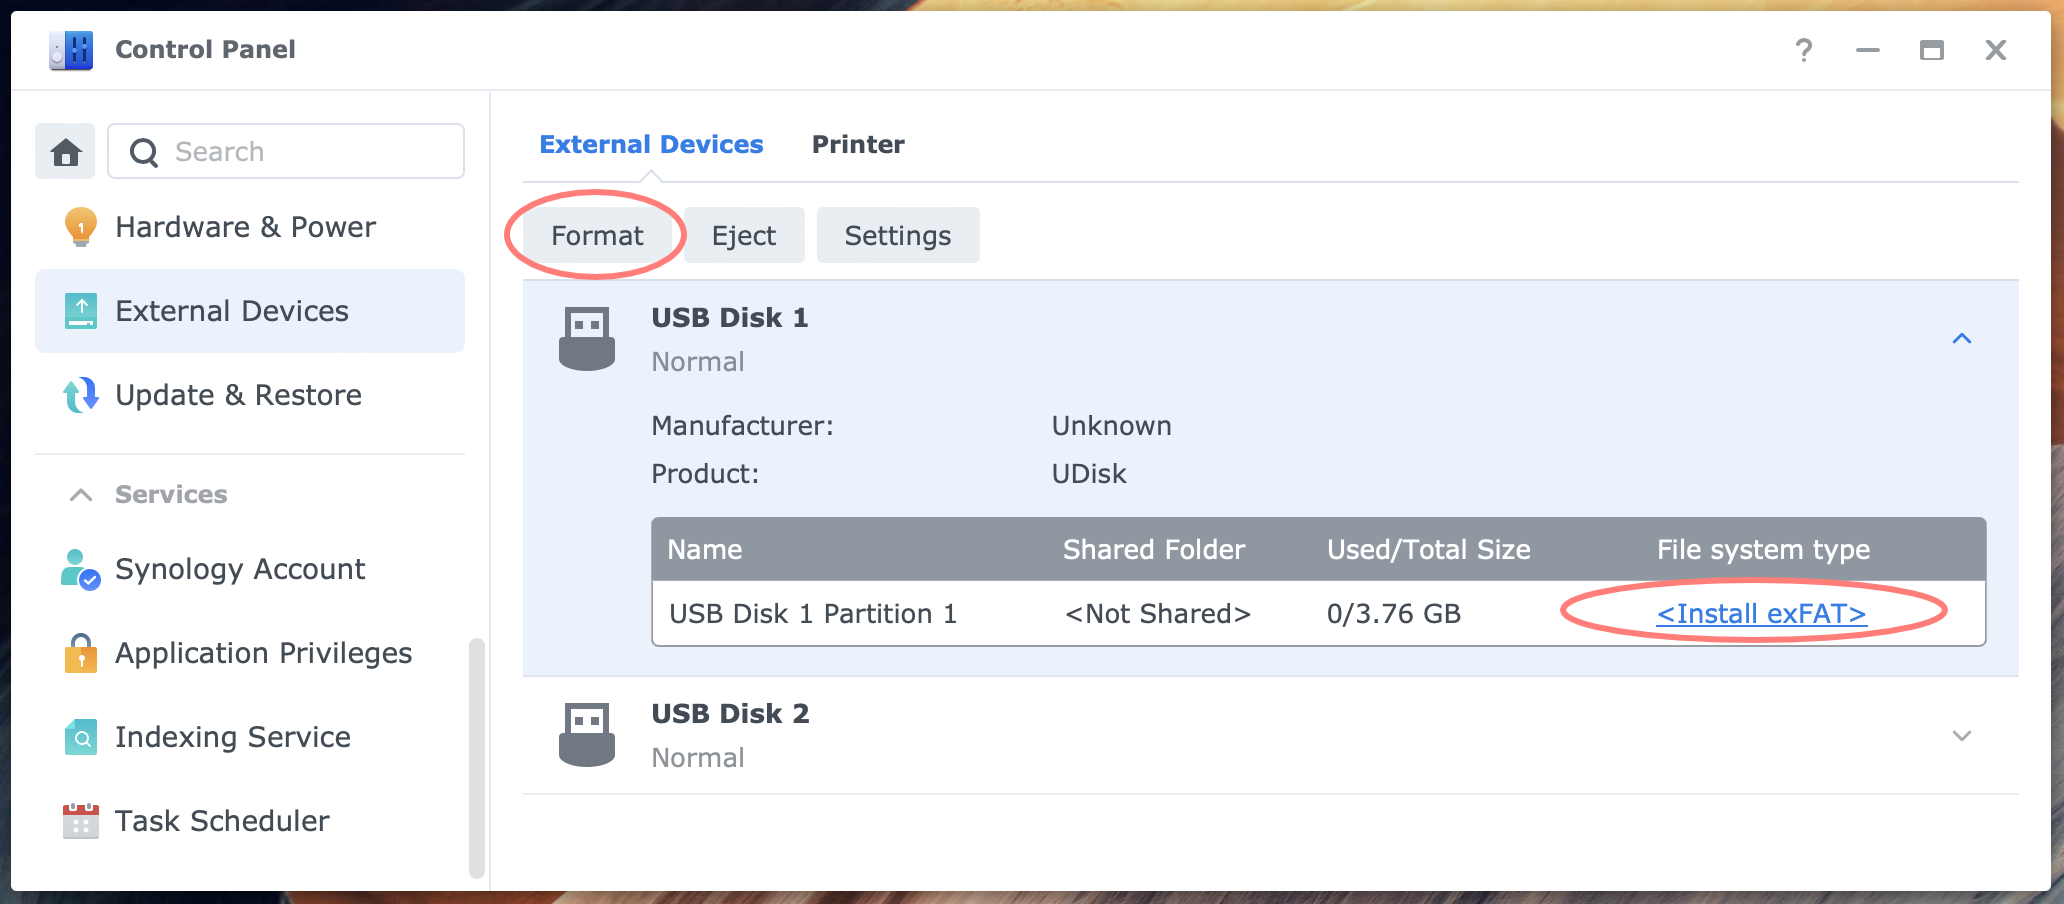
Take the USB disk and connect it directly to the NAS. Prevent using a USB hub, if possible. Next, open Control Panel > External Devices and confirm that the device is recognized. Notice the shared folder name and file system type.
Format the USB disk
This is an optional step. You might want to format the USB disk before using it for backups. I prefer the Ext4 file system over FAT32.

A good alternative is ExFAT, for which you must install the ExFAT package from Package Center. Select the disk, and click on the Format button.
Rename the shared folder of the USB disk
This step is recommended. If the shared folder name is randomly assigned, like any usbshareX where X is a number, rename the disk before using it for backups. Since random names are not persistent, Hyper Backup can lose track of the USB disk, and the backup will fail.

Open Control Panel > Shared Folder, and select the shared folder of the USB device. Click the Edit button and change the name on the General tab. Please keep it simple, without spaces or special characters, like BackupDisk.
Install Hyper Backup
With Hyper Backup, you create and send the backup to the USB disk. Please reference my Hyper Backup – datasheet for all specifications about Hyper Backup.

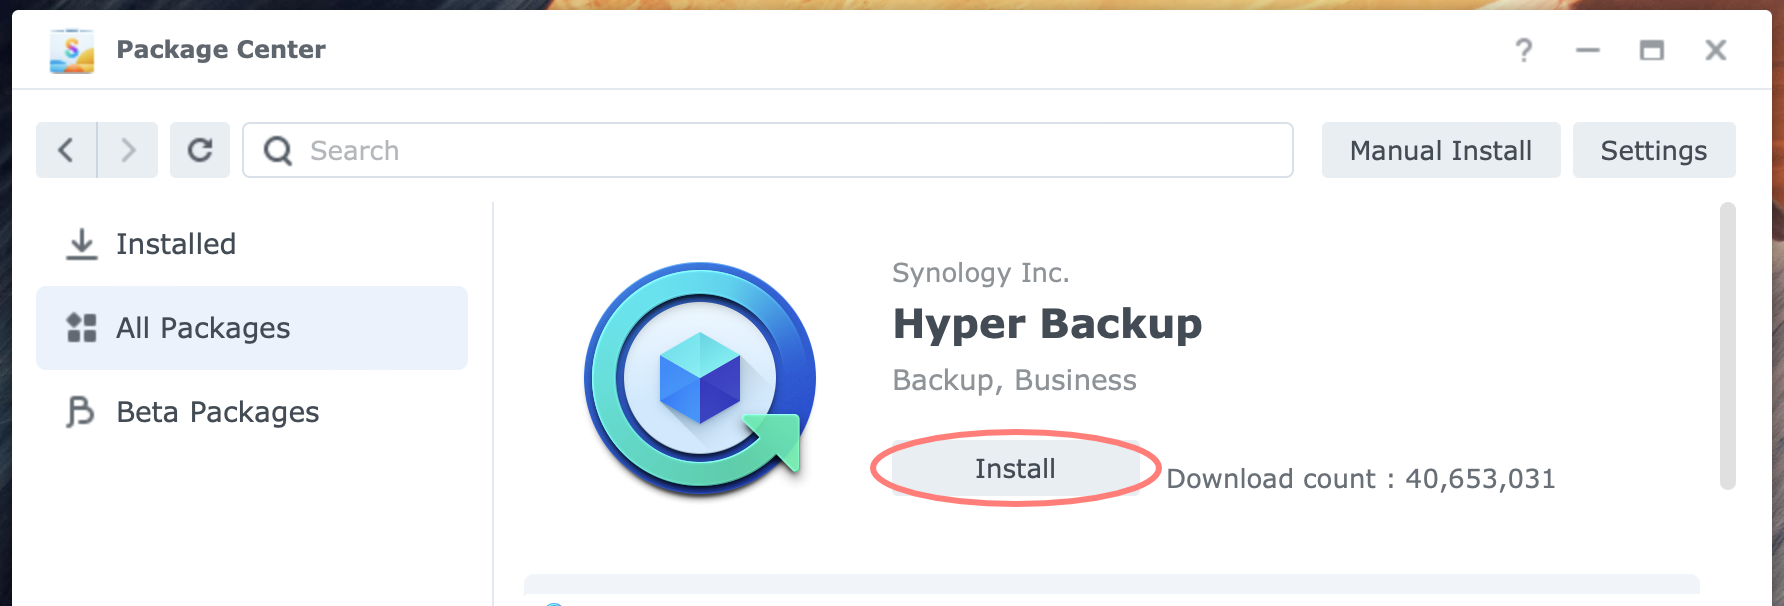
- open Package Center and install Hyper Backup
if you are on DSM 7, it might install PHP 7.4 along with the application
Create a data task
- open Hyper Backup
- click on the + sign unless the Backup Wizard automatically opens
- when the Backup Wizard opens, select
- Backup Type: Folders and Packages
- Select Backup Destination: Local Shared Folder or USB
- Select Backup Version Type: Multiple versions
- Backup Destination Settings
- Create backup task: Shared Folder > BackupDisk (or the name you gave to the shared folder of the USB device)
Directory: accept default or change to your preference
- Create backup task: Shared Folder > BackupDisk (or the name you gave to the shared folder of the USB device)
- Data Backup: select the shared folders or folders under it to backup
- Application Backup: select applications to backup
- Backup Settings: change settings where necessary
- Rotation Settings: leave as default or adapt if you prefer
- Summary: read and confirm
- Back up now? Choose to start the backup (Yes) or skip to start it later manually or as scheduled (No)
Start the backup
If you started the backup in the previous step, wait until the backup finishes. This can take some time, perhaps hours or even days, for the first backup.
A trick that I use is that I initially configure a small folder to get results quickly. If satisfied, I edit the backup task by adding more folders.
Review the result
With Hyper Backup open, review all information displayed during and after a backup.
Congrats, you achieved the primary and secondary objectives.
Thanks for reading
This post is donation-ware, and I made it to help you. Please consider leaving a comment or even buying me a coffee if it did. I will be eternally grateful.
Paul Steunebrink / Storage Alchemist
