Primary objective
Create a Hyper Backup data task to back up Synology NAS to another NAS on the same or a different network.
Secondary objective(s)
Back up selected files and folders, application data, and configuration data with sufficient retention.
Background
A backup from one Synology NAS (source) to another (destination) involves two applications, one on each NAS, a dedicated user account, and a designated target folder on the destination. Please reference my Hyper Backup – datasheet and Hyper Backup Vault – datasheet for all specifications about both applications.
The backup is stored in a catalog system and only readable by the application. With retention enabled, you can selectively restore previous versions from a history of backups.
For backing up a Synology NAS to a USB disk, please refer to How To Back Up Synology NAS USB disk.
Actions
There are seven steps in this procedure—an overview.
On the destination NAS:
- install Hyper Backup Vault
- create a shared folder that will store the backups
- create a service account for Hyper Backup Vault
On the source NAS:
- install Hyper Backup
- create a data task
- start the backup
- review the result
Detailed Steps On Destination NAS
All steps on the destination NAS require logging in to DSM with an administrator account.
Install Hyper Backup Vault
The Hyper Backup Vault application receives the backup from the source NAS.
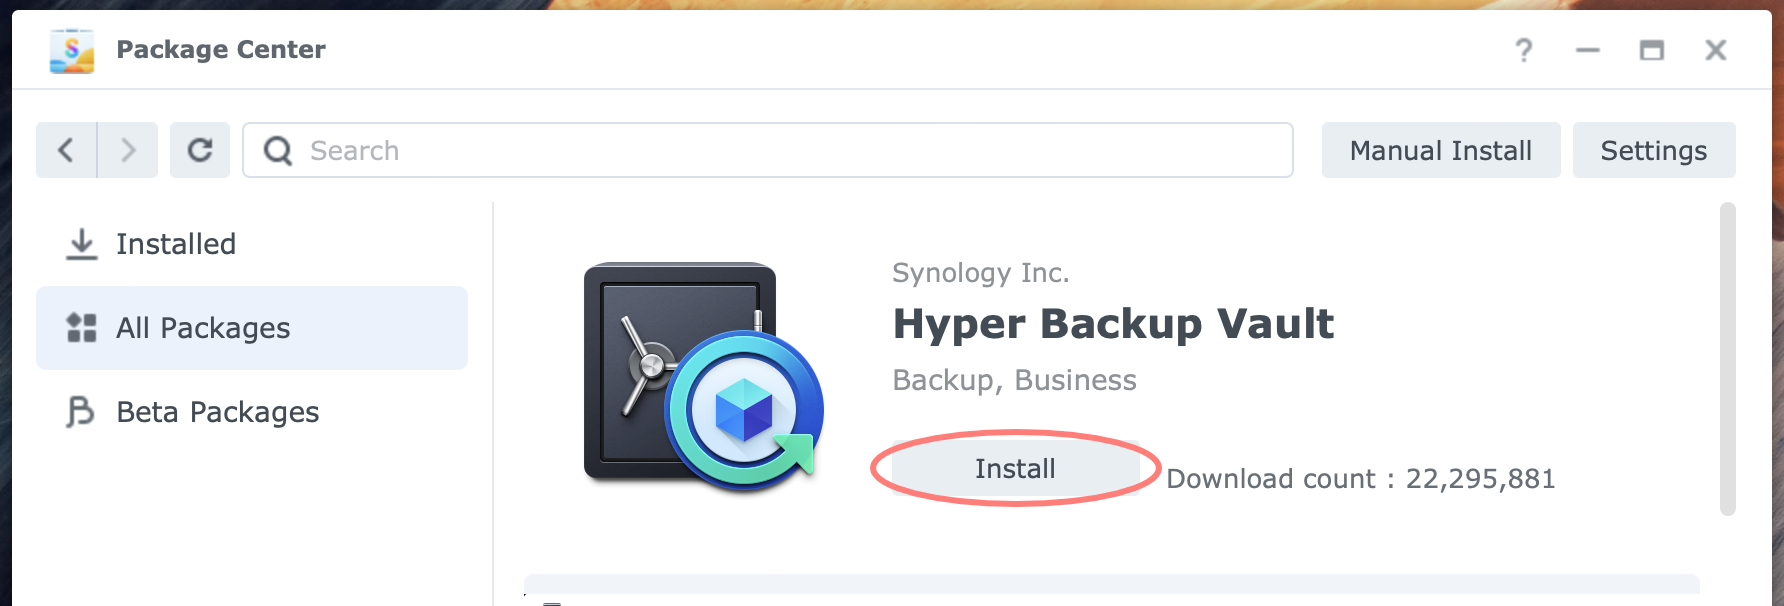
- open Package Center and install Hyper Backup Vault
- when you get a firewall notification for Hyper Backup, port 6281, click OK
Create a shared folder that will store the backups
The dedicated shared folder for the backups is where the vault keeps the backups.
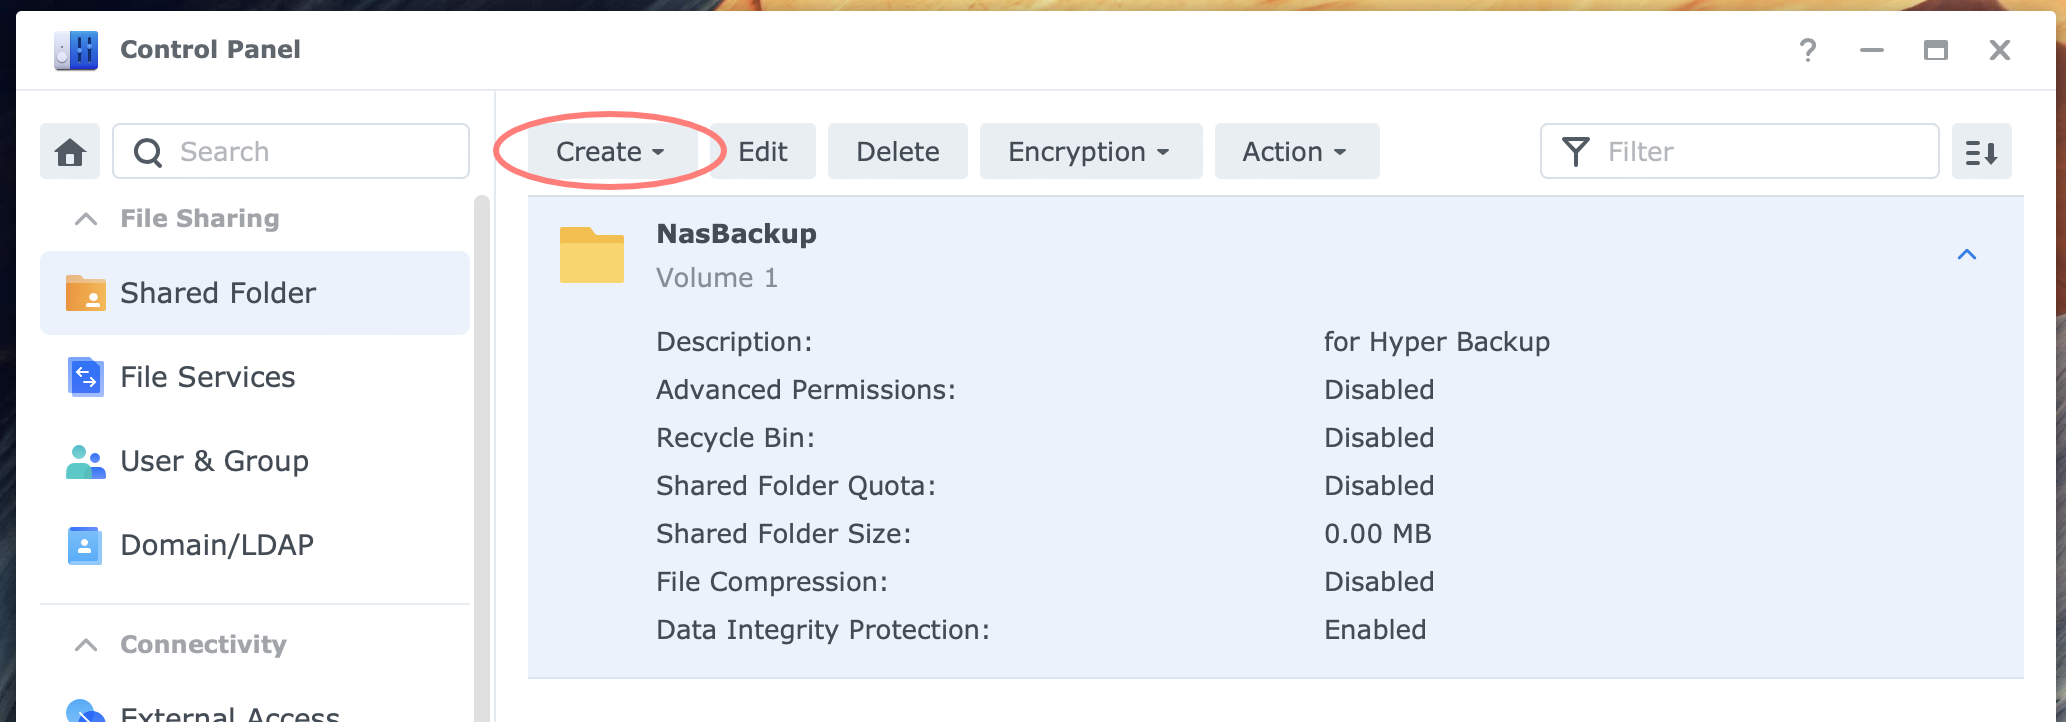
- open Control Panel > Shared Folders > Create button
- create a new shared folder
- the suggested name is NasBackup
- hide the shared folder in “My Network Places”
- disable Recycle Bin
- enable data checksum
Create a service account for Hyper Backup Vault
You need a service account for Hyper Backup to log in to the NAS that has the vault. Create a dedicated user account with limited privileges for this service and not for anyone to log in.
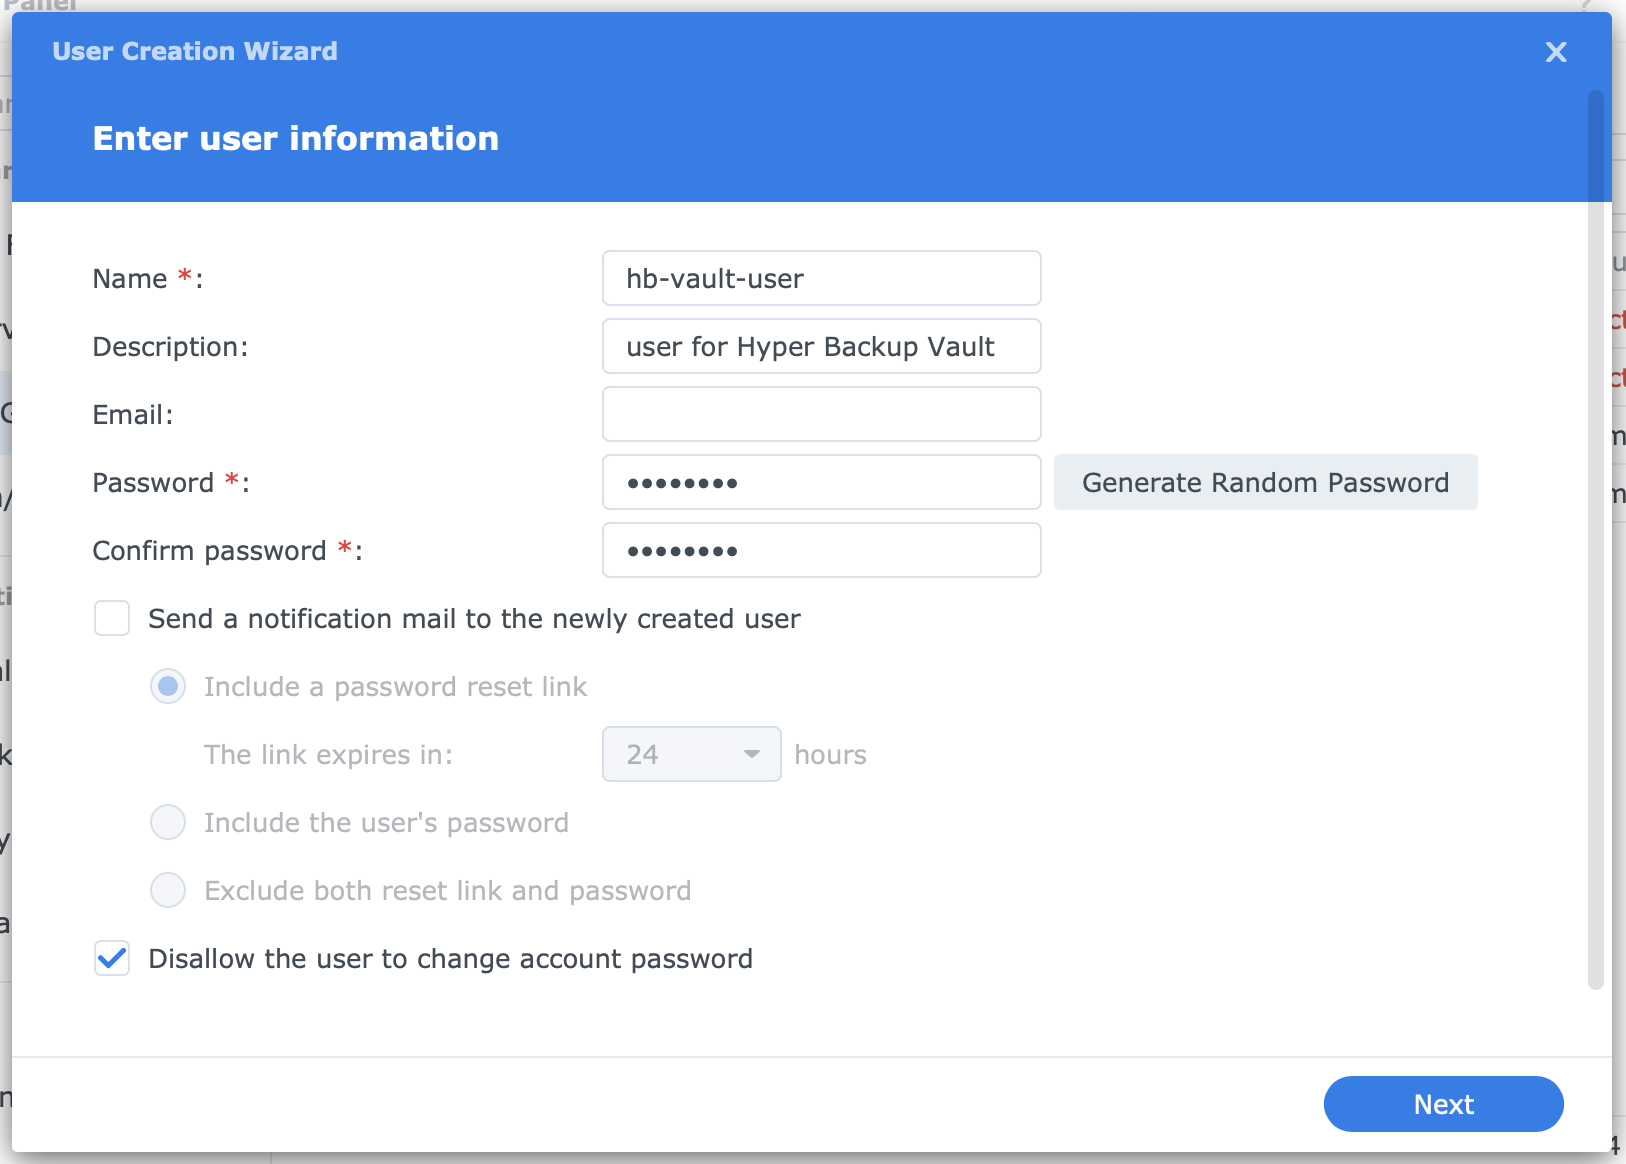
- open Control Panel > User & Group > User tab > Create button
- give the user a descriptive name, like hb-vault-user, disallow to change password
- user is member of the users group, not the administrators group
- allow the user read/write access to the NasBackup shared folder you created in the previous step
- deny all applications except Hyper Backup Vault
This finishes the configuration at the destination NAS. Continue with the steps on the source NAS.
Detailed Steps On Source NAS
All steps on the source NAS require logging in to DSM with an administrator account. Perform the following steps on the source NAS after you finish the steps on the destination NAS. Ensure the destination NAS is running and accessible on the network.
When both NASs are on the same local network, you can use the IP address of the destination NAS.
Install Hyper Backup
This backup application creates and sends the backup to the vault application on the destination NAS.
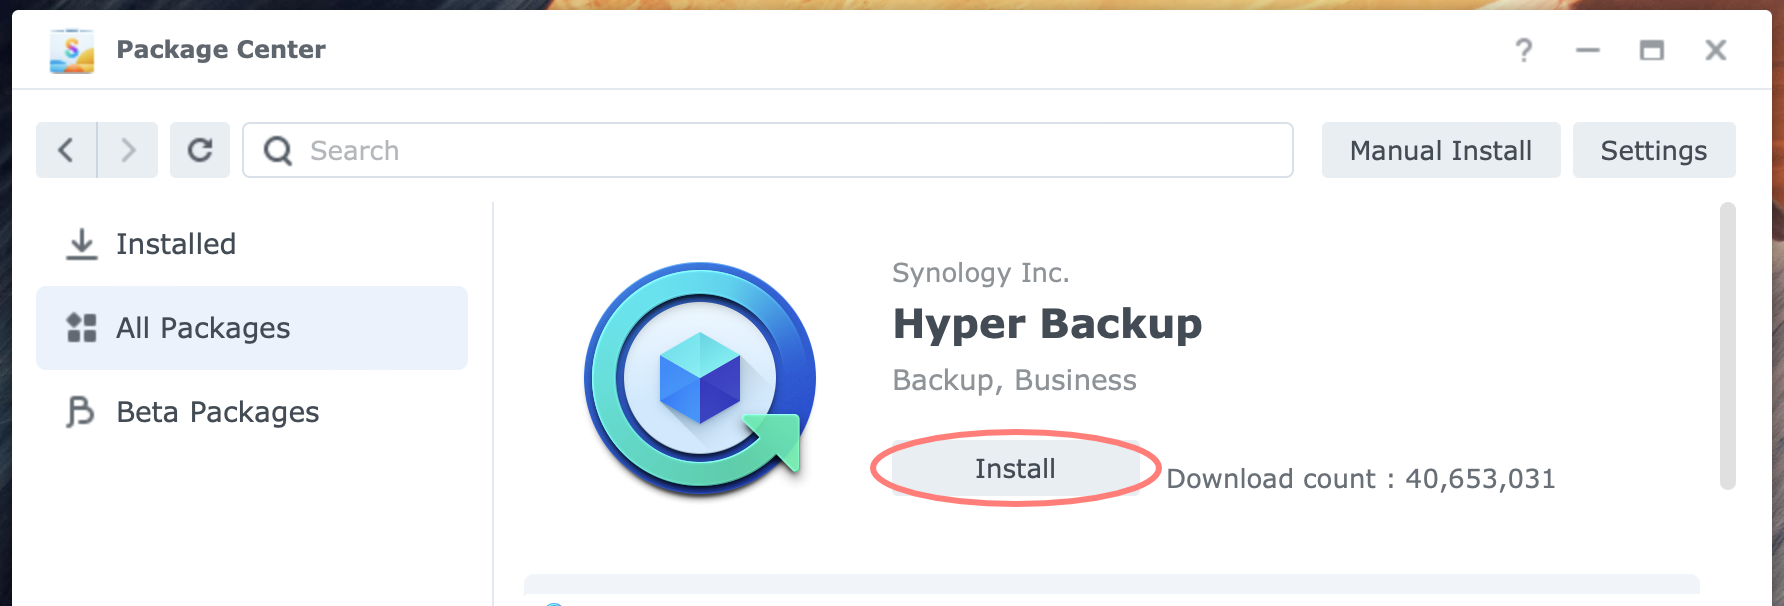
- open Package Center and install Hyper Backup
if you are on DSM 7, it might install PHP 7.4 along with the application
Create a data task
- open Hyper Backup
- click on the + sign unless the Backup Wizard automatically opens
- when the Backup Wizard opens, select
- Backup Type: Folders and Packages
- Select Backup Destination: Remote NAS Device
- Backup Destination Settings
- Server name or IP address: enter the server name or IP address of the destination NAS
- Authentication: click on Log In button; use Browser Login, and if that does not work, use Password Login
- Shared Folder: select the shared folder that you created on the destination NAS, i.e., NasBackup in my example; if you get a message about a non-trusted certificate, click on the Trust button next to Certificate authentication
- Directory: filled in automatically, but you can change it; it will become the folder under the Shared Folder on the destination NAS
- Data Backup: select the shared folders or folders under it to backup with this task
- Application Backup: select applications to backup with this task
- Backup Settings: change settings where necessary for this task
- Rotation Settings: leave as default or adapt if you prefer
- Summary: read and confirm
- Back up now? Choose to start the backup (Yes) or skip to start it later manually or as scheduled (No)
Start the backup
If you started the backup in the previous step, wait until the backup finishes. This can take some time, perhaps hours or even days, for the first backup.
Review the result
With Hyper Backup open, review all information displayed during and after a backup. You can open Hyper Backup Vault on the destination NAS and check the status there.
Tips
A trick that I use is that I initially configure a small folder in the new backup task to check if everything works. If satisfied, I edit the backup task by adding more folders.
The backup that Hyper Backup creates always includes the NAS configuration. However, I prefer to have a configuration backup via Control Panel. For details on why I like this configuration backup and how to set it up, please refer to Using Configuration Backup With Synology NAS.
If you back up to a NAS remotely, consider bringing that NAS to your local network with the source NAS and make the initial backup. Next, move the destination NAS to the remote location, change the task’s server name or IP address, and test the connection.
Congrats, you achieved the primary and secondary objectives.
Thanks for reading
This post is donation-ware, and I made it to help you. Please consider leaving a comment or even buying me a coffee if it did. I will be eternally grateful.
Paul Steunebrink / Storage Alchemist

Paul, as always, thank you for taking the time to produce these easy-to-follow instructions for us beginners. I continually find them useful. Just read this post today, and although I set up Hyper Backup and my remote Synology NAS Hyper Backup Vault a few months ago, and all has been running well, I just reviewed your article and found a couple of settings you suggest that I had missed, so I made the changes! Thanks. On a somewhat related topic, do you recommend using Snapshot Replication on the destination NAS? That is, is there a benefit to taking Snapshots of the Hyper Backup Vault .hbk folder? Mark
Hi Mark,
Thank you for comment, which is very encouraging. Backing up a backup catalog like the .hbk folder from Hyper Backup Vault, or make snapshots, is not what I would do or recommend. I would prefer to create another backup of the source, either locally or in the cloud, instead. Think of the 3-2-1 backup strategy.
Best regards,
Paul Steunebrink / Storage Alchemist