Your NAS is a computer. Computers run the software. The software receives updates. That is the basic rule. There are two kinds of updates on a Synology NAS and roughly two ways to deal with it.

Understanding Synology NAS Updates
Your NAS’s base software or operating system is DSM or DiskStation Manager. That is what you see when you log in with a browser. On top of DSM, you can run packages. Both DSM and packages receive updates. Next to DSM and packages on the NAS, you may have Synology applications on your computer or mobile device.
You manage and update the DSM version via Control Panel. Packages and their updates, on the other hand, you manage via Package Center. You download computer applications or desktop utilities, as Synology calls them, from Download Center, the support website of Synology. A DSM update sometimes updates packages. On other occasions, package updates become available after a DSM update.
The NAS installs updates automatically, without your intervention, or manually. You decide what you prefer.
Manual updates give you more control, particularly when the updates are installed. Automatic updates are more convenient and prevent you from forgetting to update.
Although it is good practice to keep up to date, breaking what was working properly is always risky. And sometimes, a NAS needs a restart, particularly after a DSM update. During that restart, the NAS is unavailable for at least 10 minutes.
Some packages on the NAS have an application or app on the computer, tablet, or smartphone. Synology Drive is such an example, or Synology Photos and Note Station. You may, or sometimes must, update the app after the package update.
Let’s look at the different kinds of updates and how to configure their behavior to meet your needs.
DSM Updates
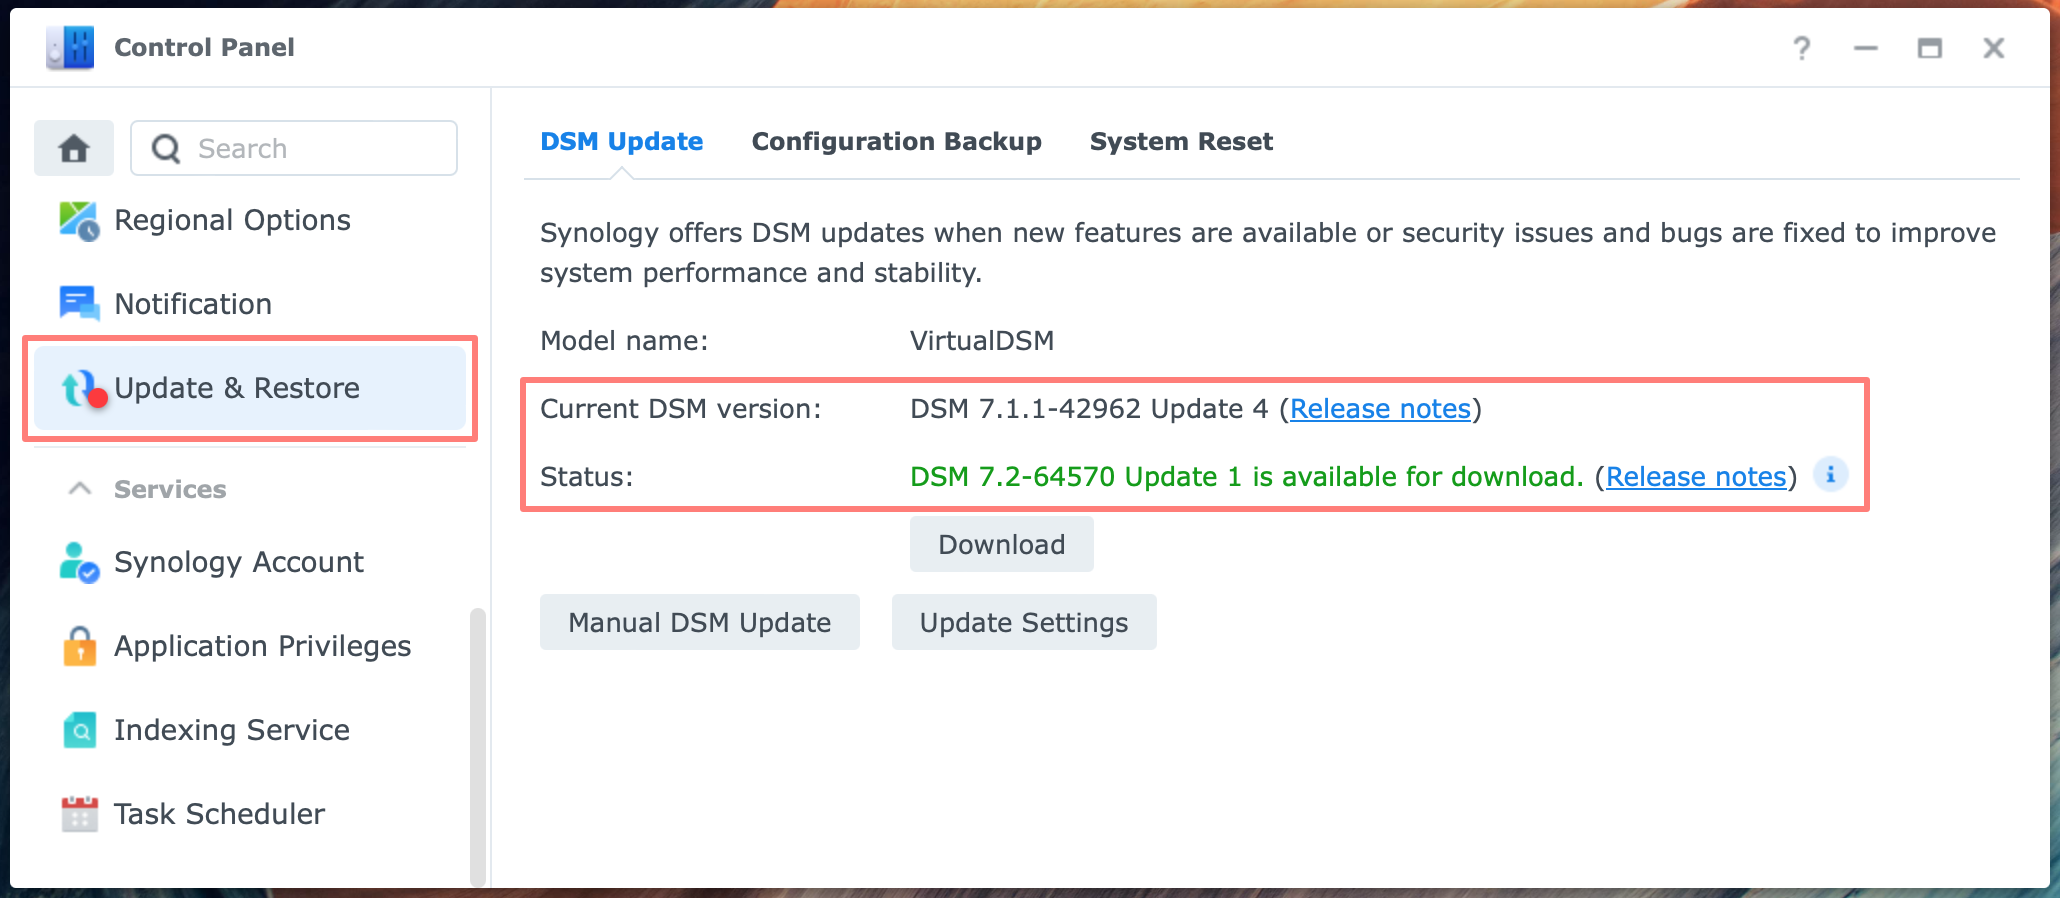
Via Control Panel > Update & Restore, you read the current version of DSM and whether there is an update. If you configured Notifications in Control Panel, DSM will notify you about the update.
Note that some time can pass between the release of an update by Synology and the moment you receive the notification. Older NAS models may never show the update, even if one is available.
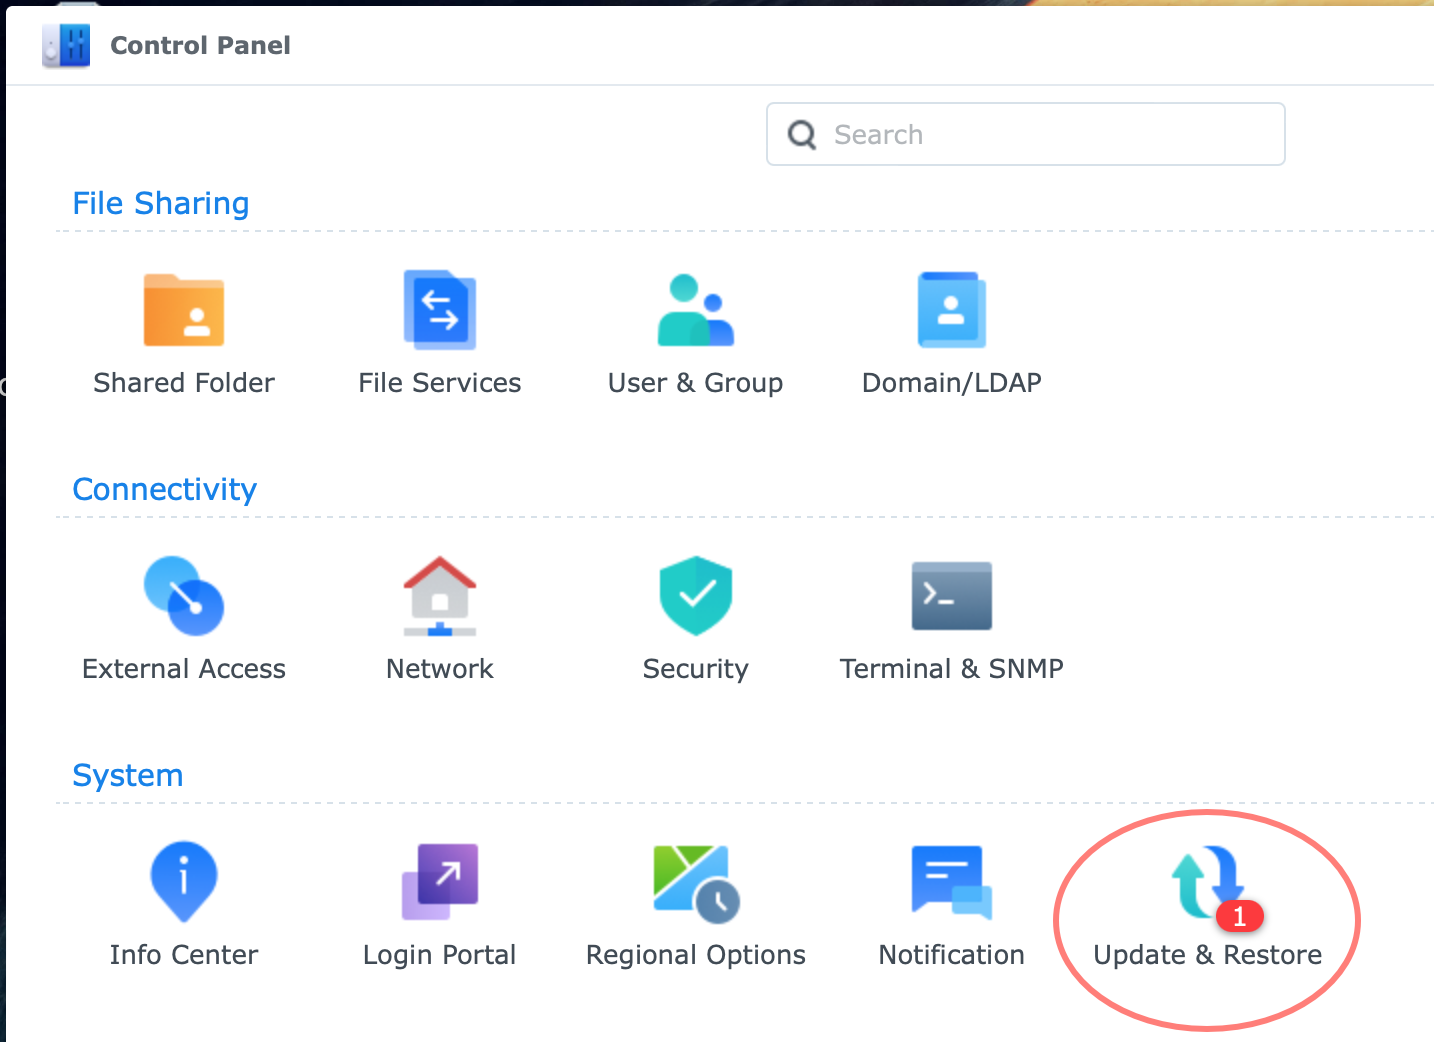
If an update is available in the Status field, the Control Panel icon may have alerted you with a red dot in the Control Panel icon and the Update & Restore icon in Control Panel.
The available update may vary depending on your current DSM configurations. For example, if you run DSM 6.2.4, the available update is 7.0.1. From that version, you can upgrade to 7.1.1 Update 6 and finally to the latest version at the time of writing, 7.2 Update 1.
Performing the update
Note that a DSM update will always restart the NAS. In a business environment, I update a NAS outside of office hours. With Resource Monitor, you can check whether users are connected and if any file is opened before you start the update.
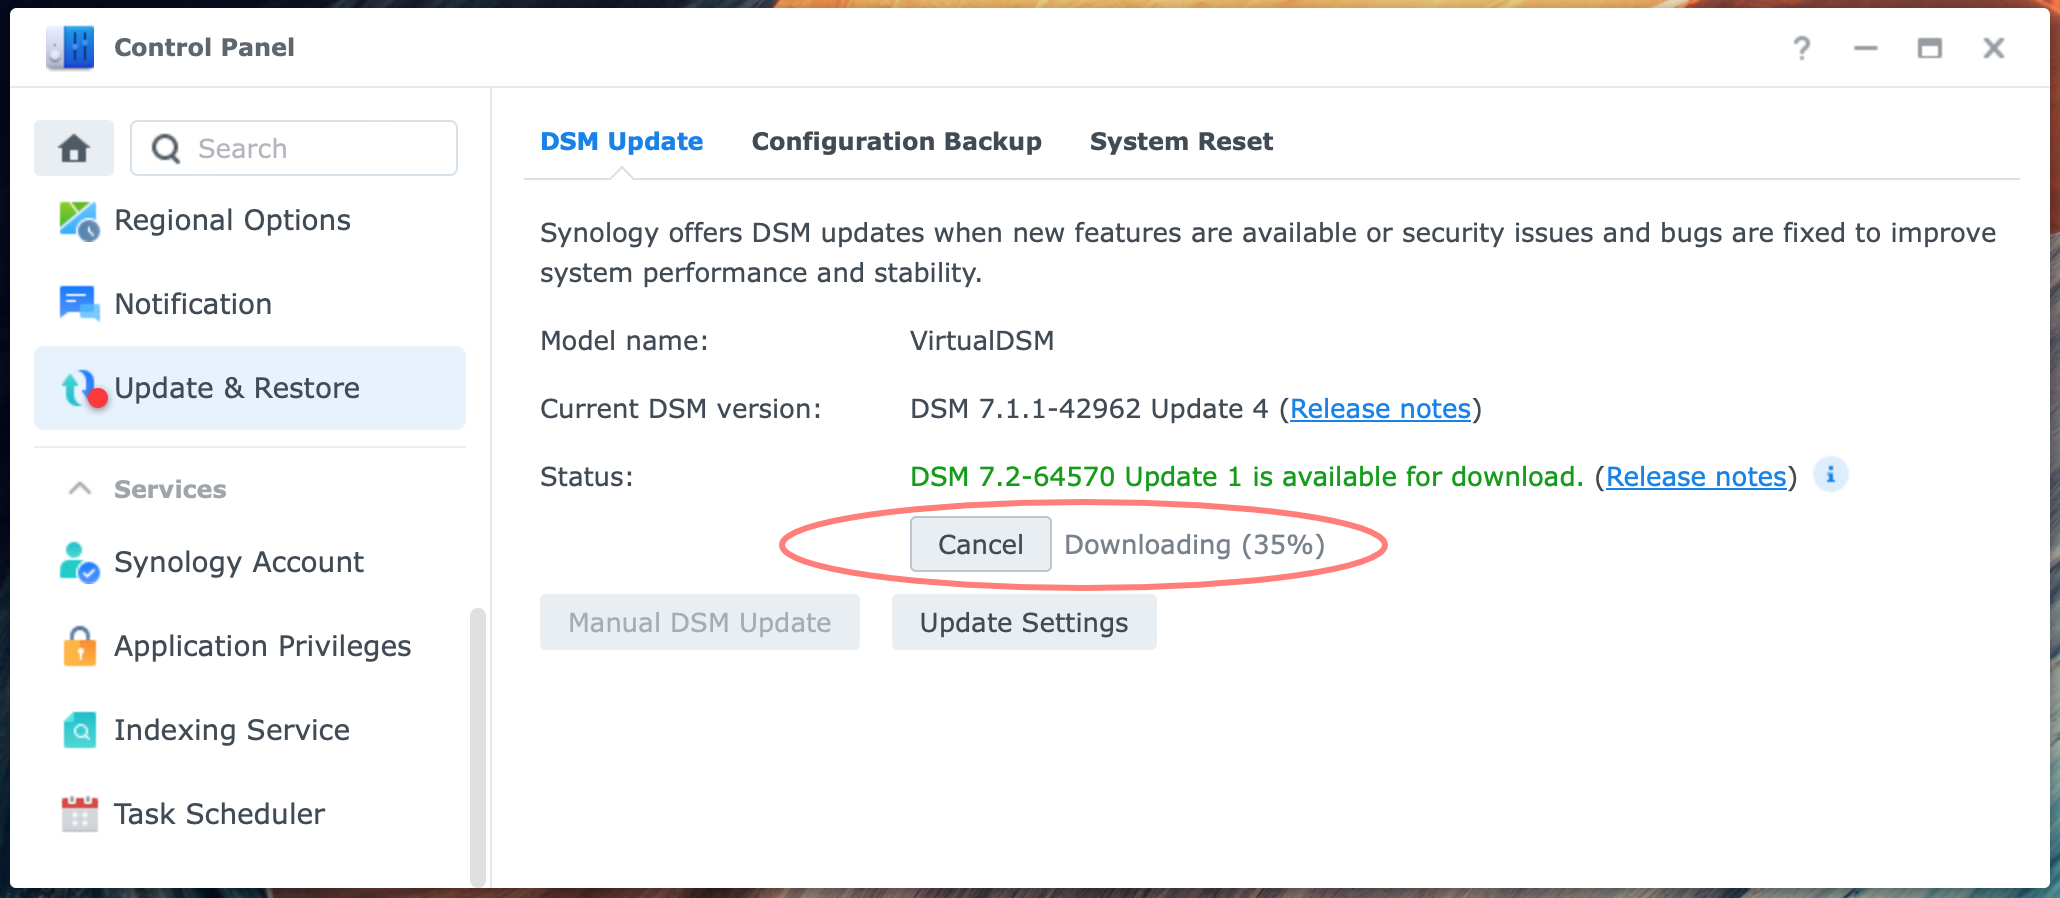
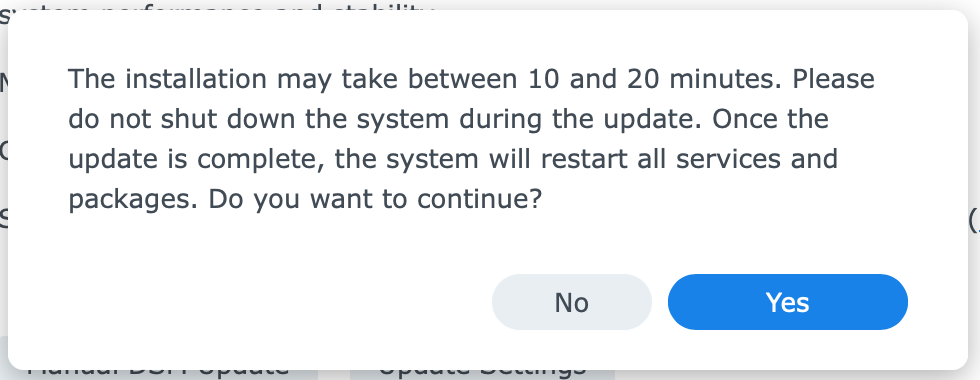
If an update is available but not (yet) installed, click on the Download button. The NAS will download the update. This requires the NAS to have internet access. After the download, the button will change to Update Now. When you click the button, it loads the update and displays a message that updating will take 10-20 minutes. Click Yes to continue.
Notice the counter displaying the remaining time. Wait until the NAS restarts and log in, open Control Panel > Update & Restore and review the result. Maybe there is another DSM update available.
Manual update
You can download the update and install it manually. See the download instructions below in the Download Center section. This manual update process is pretty straightforward.
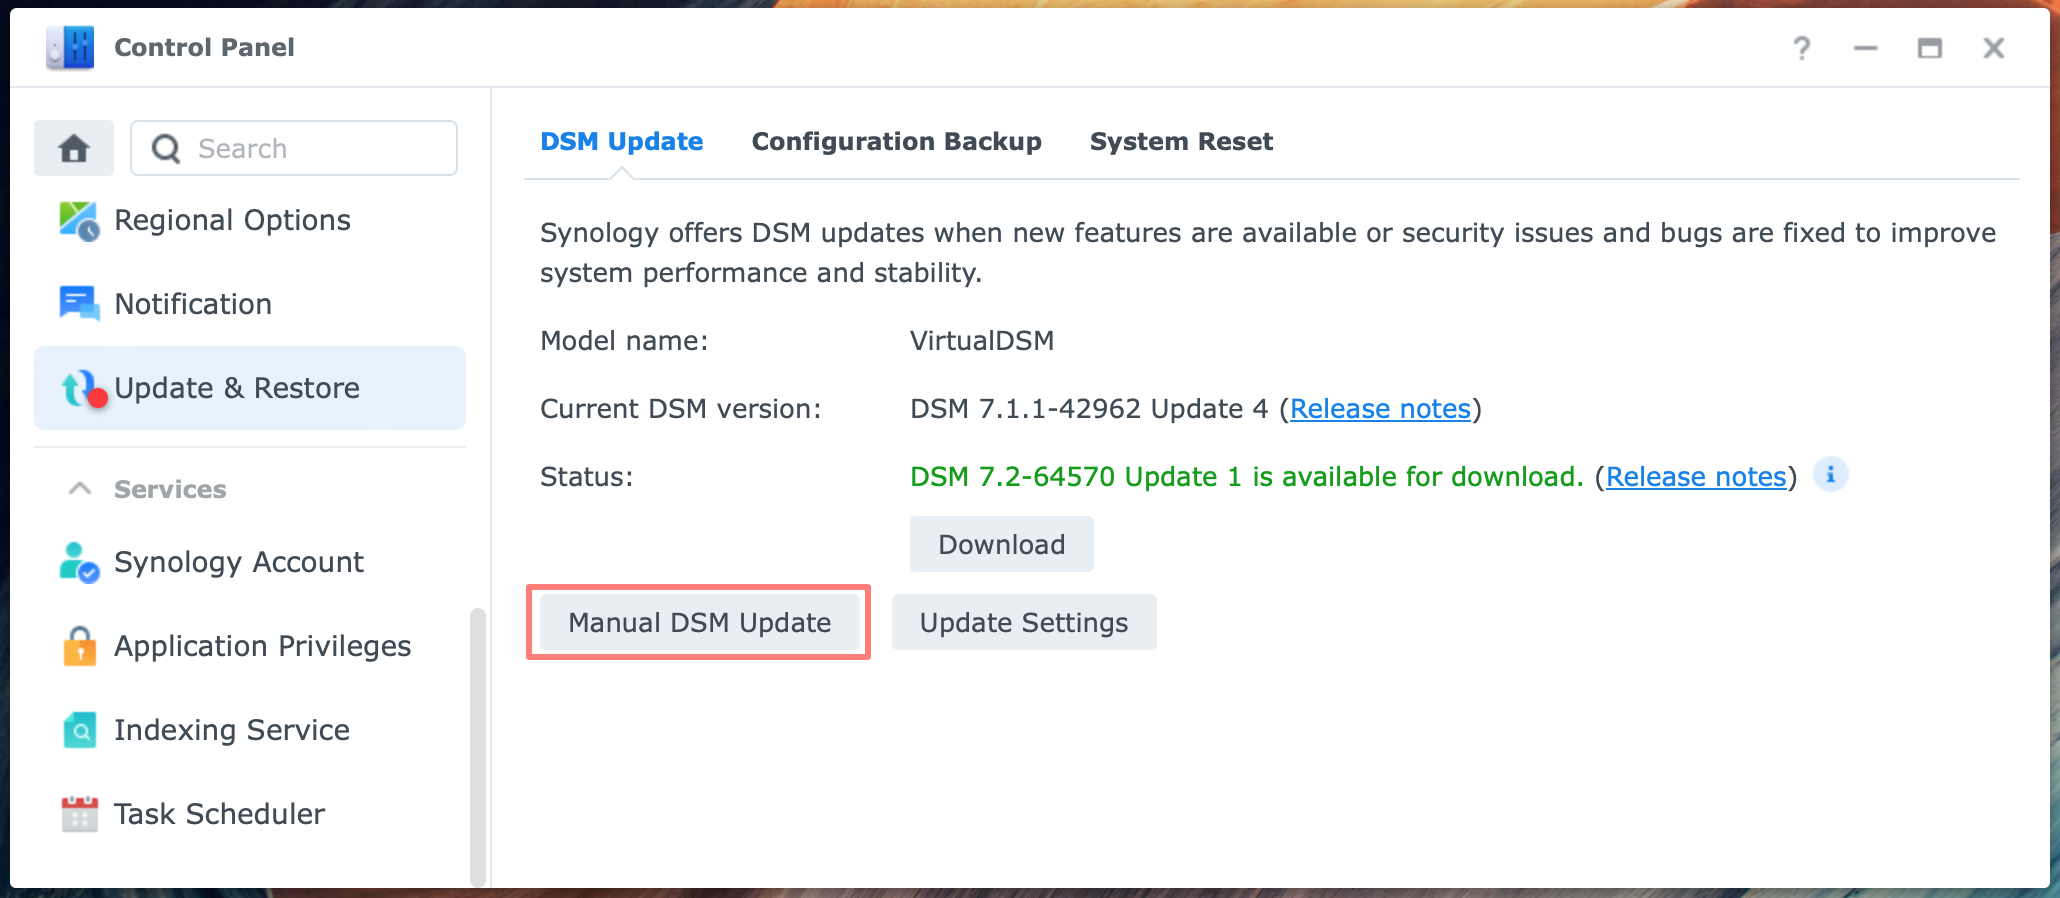
Click on the Manual DSM Update button. In the Manual DSM Update dialog, browse to the location of the update you downloaded earlier. This is a .pat file.
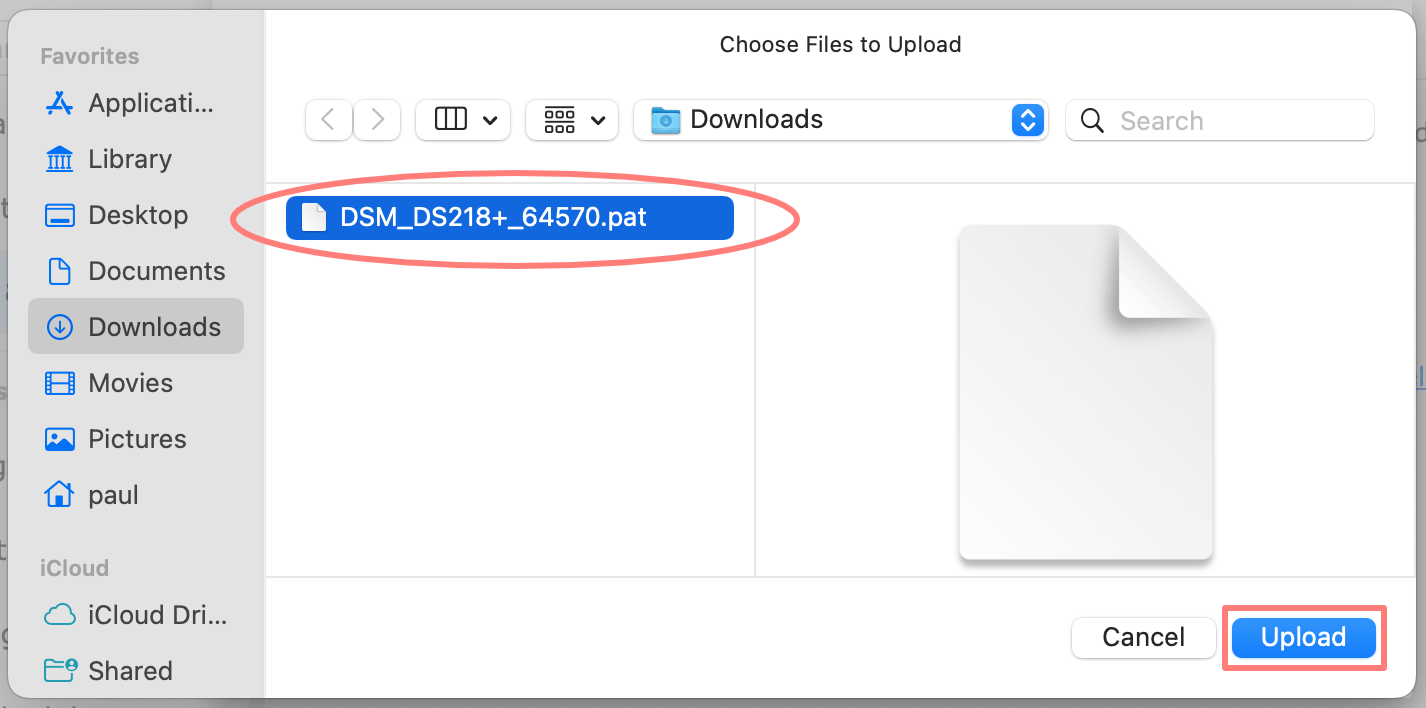
Select the file and click Upload. Back in the Manual DSM Update dialog, click OK. DSM uploads the file. If you have the wrong file, for example, for another model NAS, DSM notifies you.

This procedure may be quicker if you update many identical NAS systems. You download the .pat file once and install it on all your systems. Another scenario is where the NAS has no internet access.
Update settings
With the button Update Settings, you open a dialog. Here you can choose one of three options.
The first setting is the recommended setting and is a balance between updating automatically and manually. It installs the necessary updates from a security point of view but limits the number of updates.
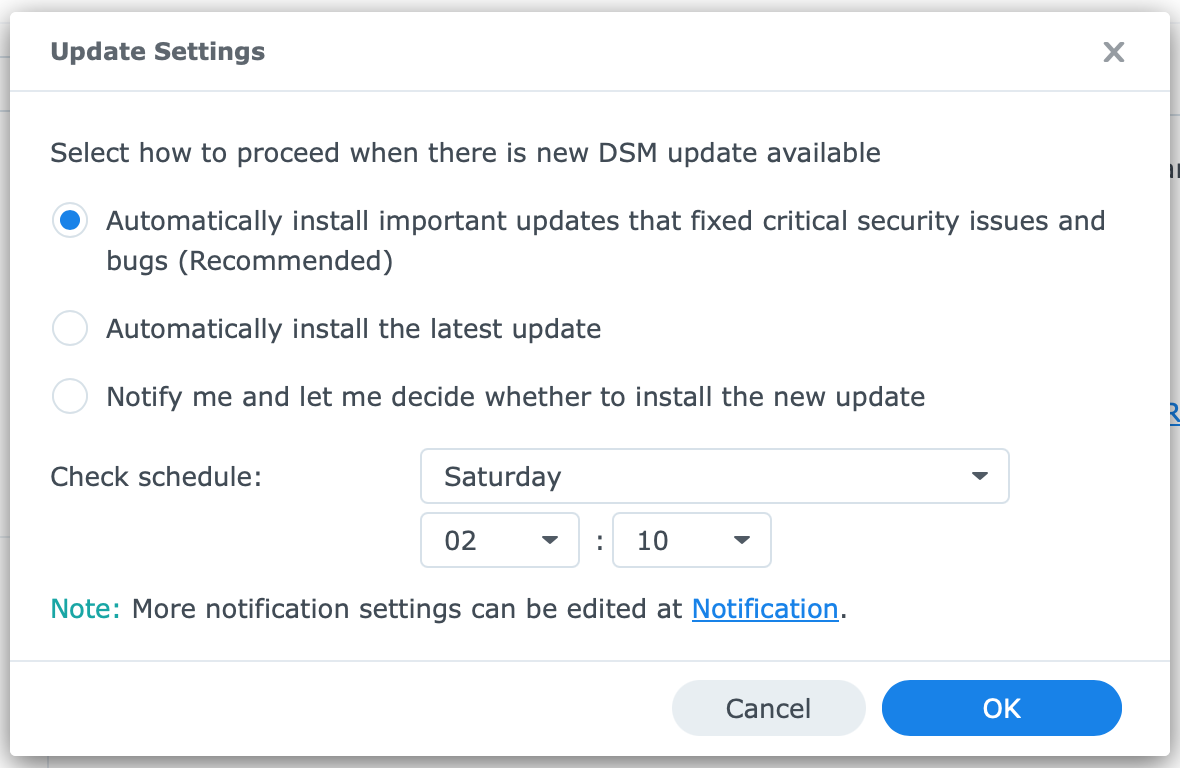
The second option always installs DSM updates automatically. Notice the scheduler at the bottom of the dialog. Here you define when option one or two will be applied.
The last option only notifies you. Please note that you must configure notifications. You decide when you install the update, as mentioned above.
Package Updates
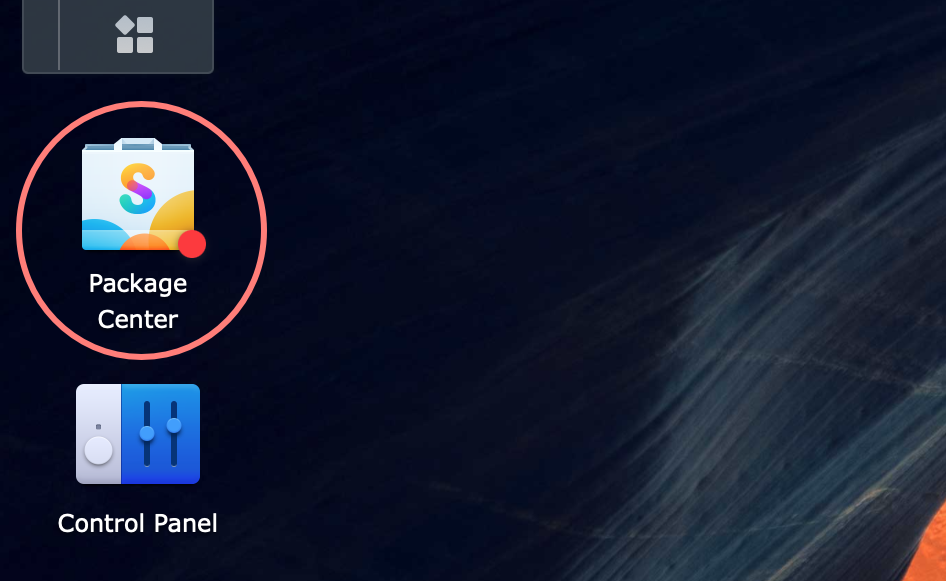
Similar to Control Panel and DSM updates, alerts Package Center with a red dot in its icon when one or more updates are available. If configured in Control Panel and Package Center, you may also receive a notification. I discuss this below under Update Settings.
Depending on your update settings, which I will discuss shortly, updates are installed automatically, or you install them manually. Note that some packages, in particular services, interrupting basic functionality during the update, are never updated automatically and require manual intervention.
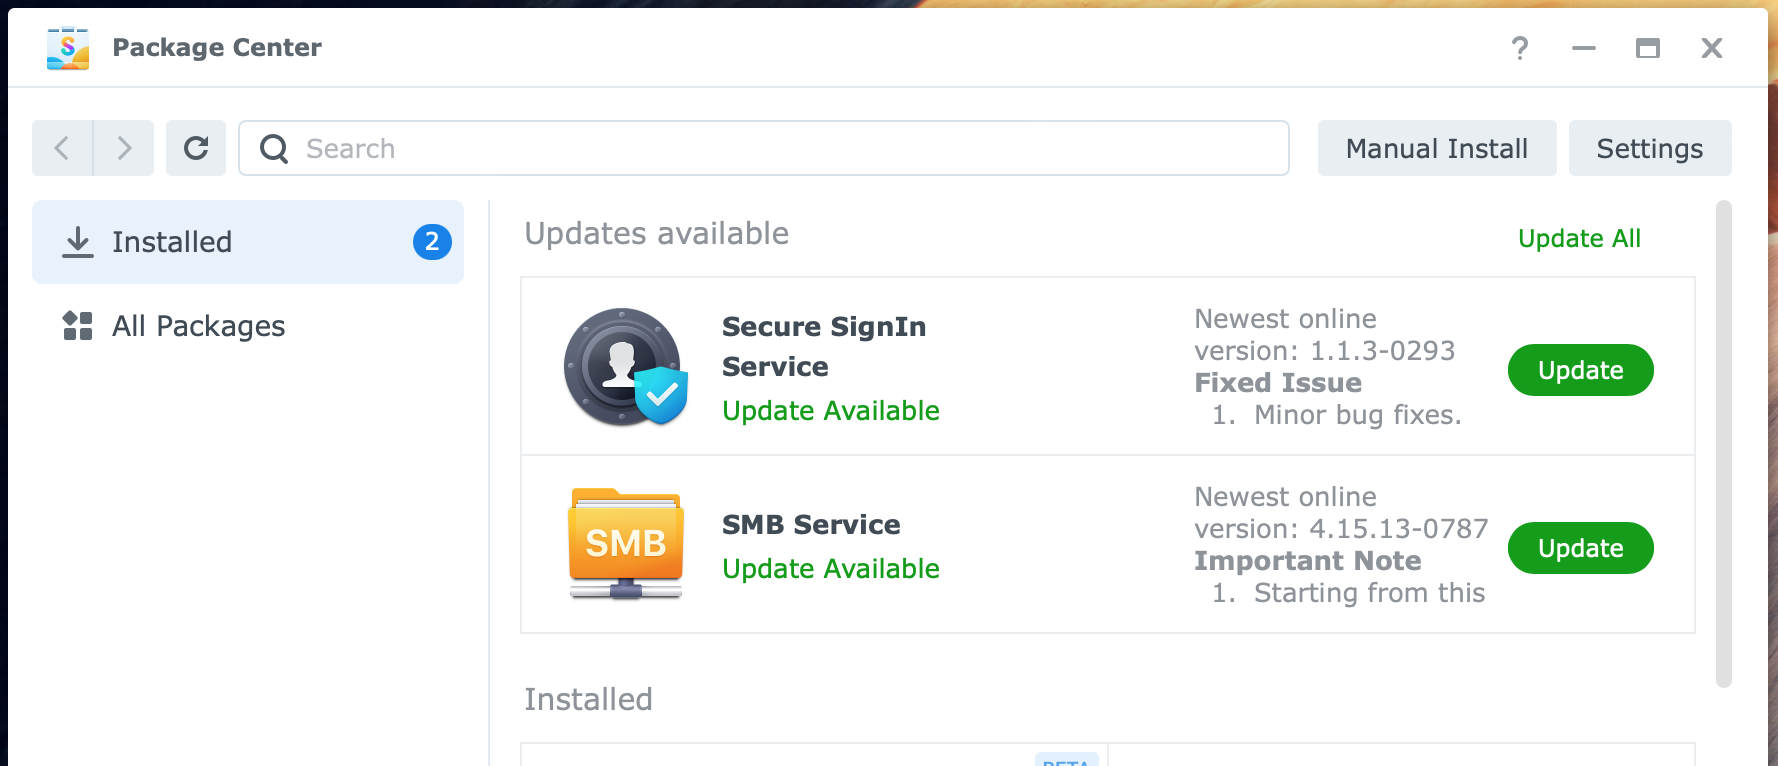
To review and install updates, open Package Center and select the Installed page in the left column. At the top of the page, you see the packages to update. Click on the green Update button to install the update.
Update Settings
Via the Settings button in Package Center, you the Settings dialogs.
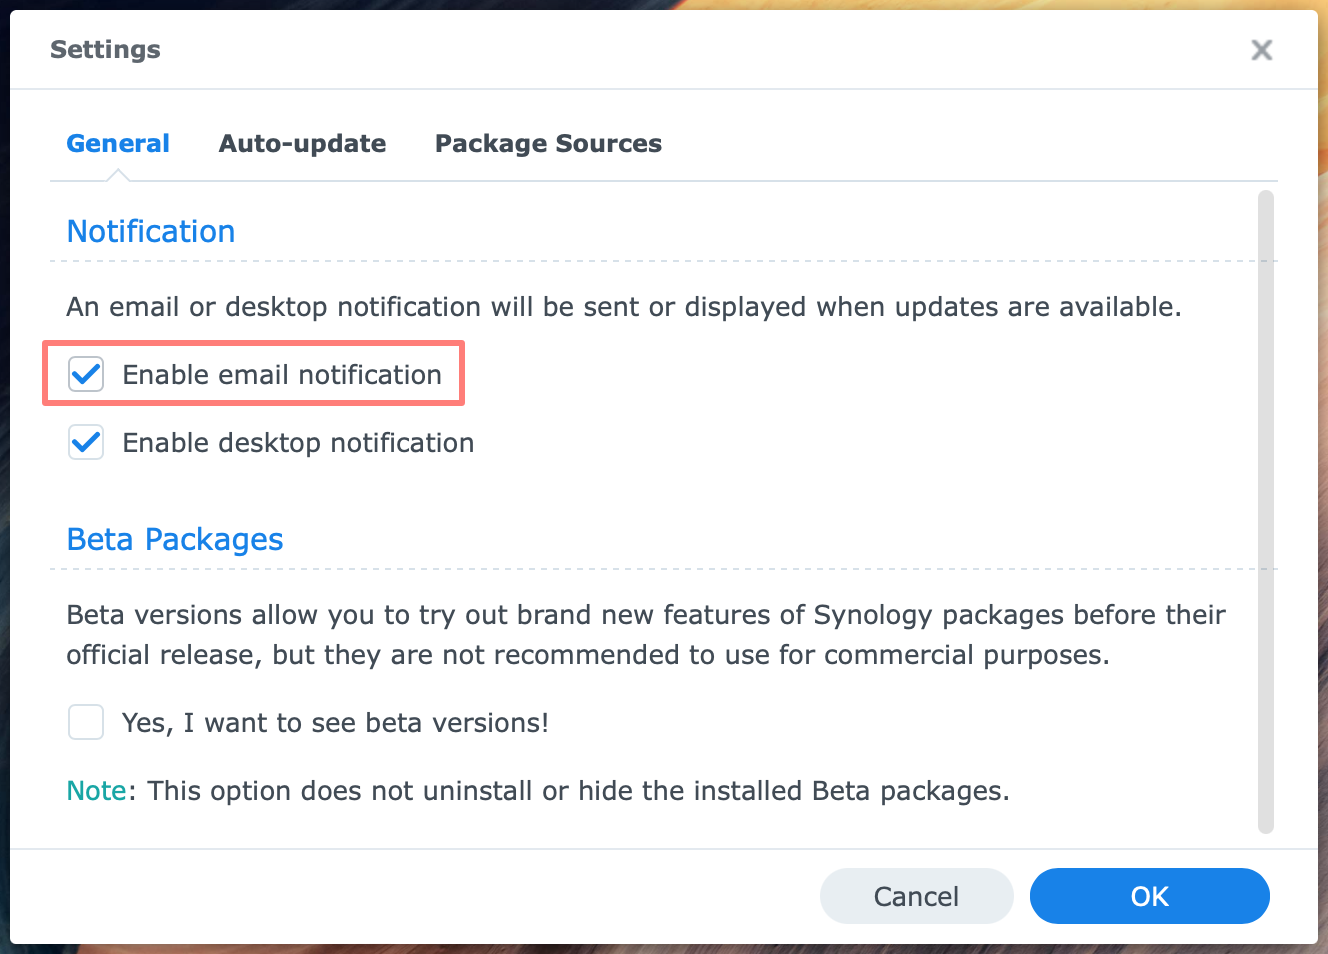
You can enable email notifications on the first General tab under Notifications. You will receive an email if new updates are available.
On the second tab, Auto-update, you can enable automatic updates. Once enabled, you have three sub-options:
- update important versions of all packages (Recommended)
- update all packages
- update selected packages, either their important versions or all versions
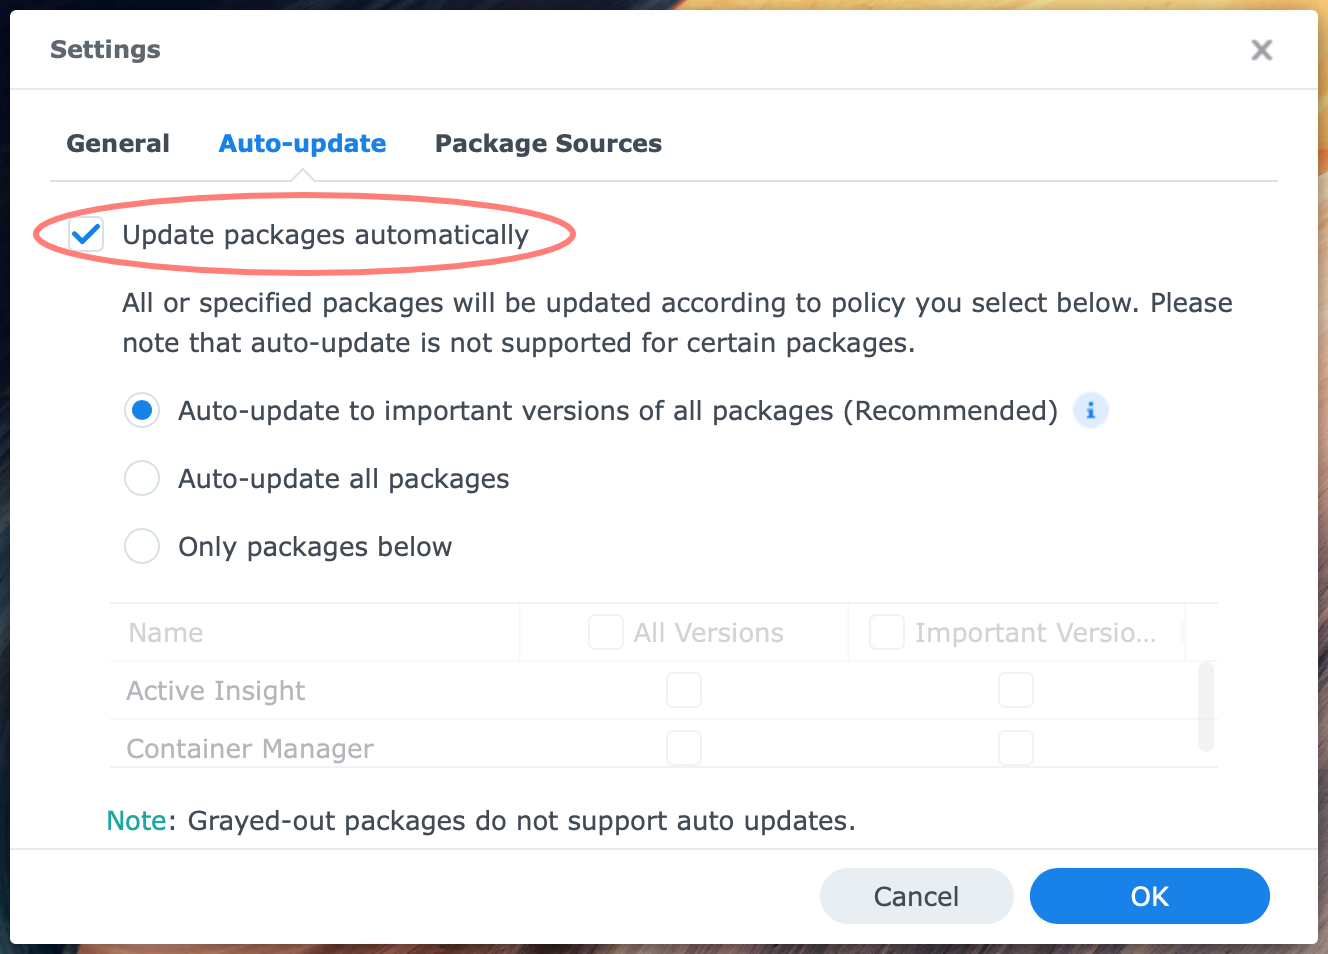
If in doubt, choose the recommended option. If you have a simple setup and do not want to be bothered, choose the second option, Auto-update all packages.
Finally, if you need maximum control, select the last option and configure which package should update automatically and whether all or only important versions should install.
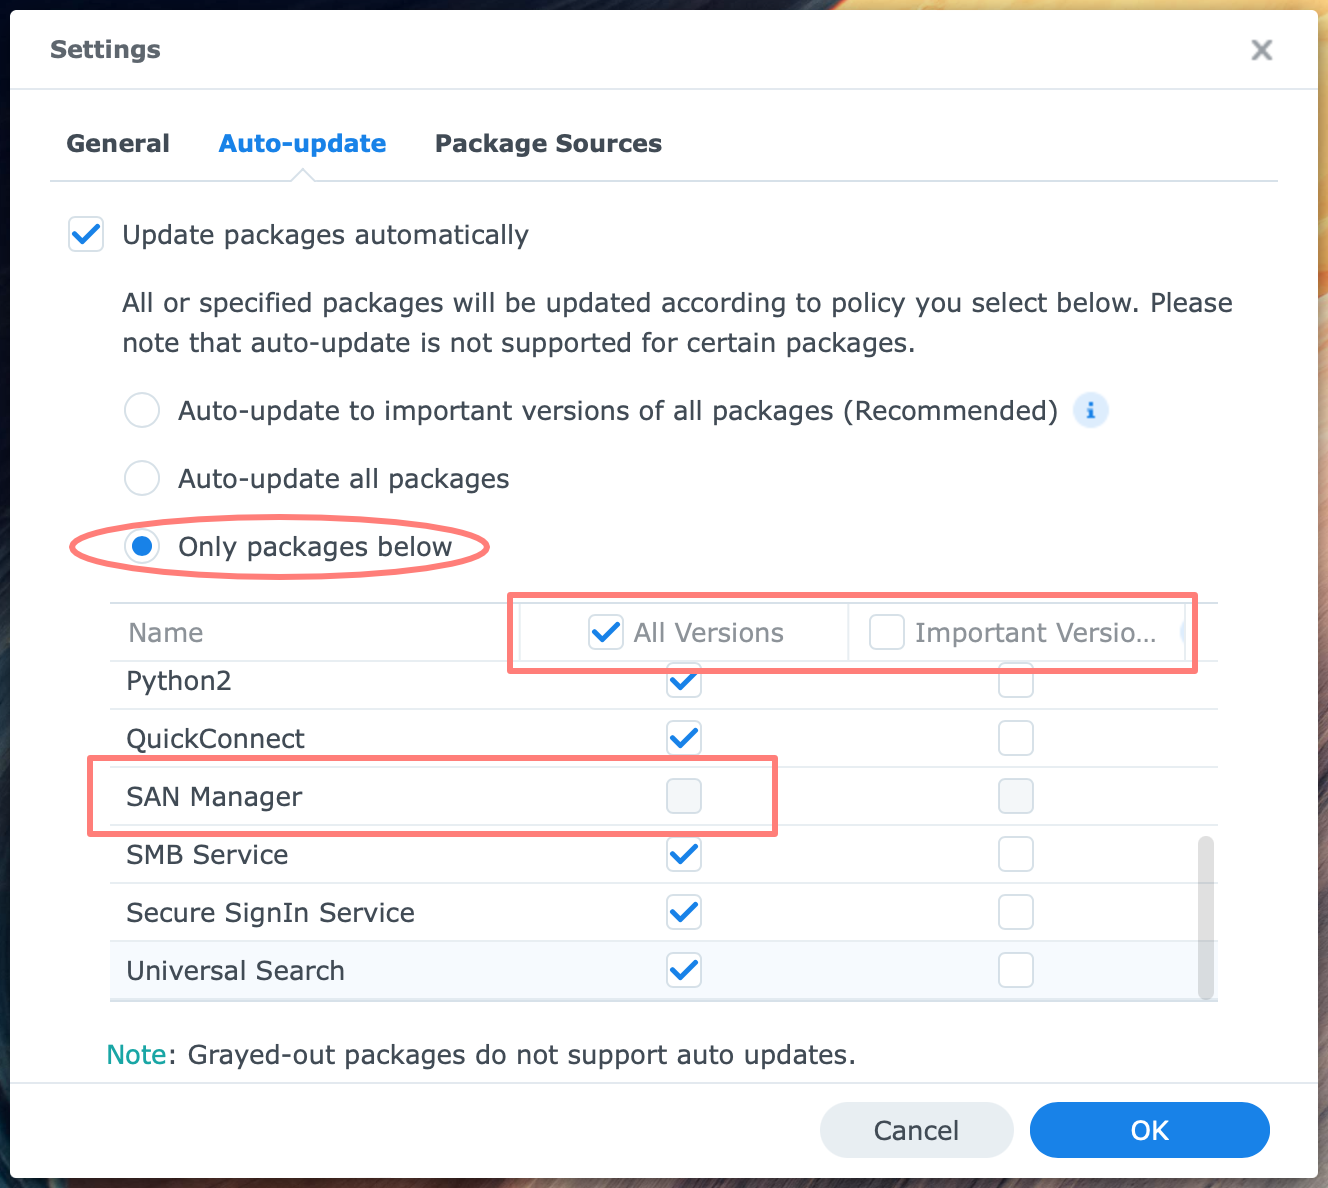
Notice the SAN Manager package in the list. It is grayed out because it does not support auto updates. Examples of packages that will appear grayed out are Hybrid Share, Tailscale, and Virtual Machine Manager.
For Synology Drive Server and Client, version management is critical. You might want to update the clients if you update the server side.
Note that only installed packages are on the list of selected packages of option three. Installing a new package won’t be updated until you enable it in the list.
Manual Install
Next to the Settings button is the Manual Install button. This is for the manual installation of packages that you downloaded outside the Package Center. The reason I mention this is that you can use it for package updates as well.

Sometimes, a newer version is available for download from Synology Download Center but not yet in Package Center. This can happen and is not unusual.
Say, for example, you have issues with Hyper Backup. Synology updated its website before it was available in Package Center. You can install it by downloading it and using the Manual Install button.
Application Updates
You made essential steps with updates for DSM and packages, but it does not stop there. Several services on your NAS have accompanying client applications on your computer or mobile device.
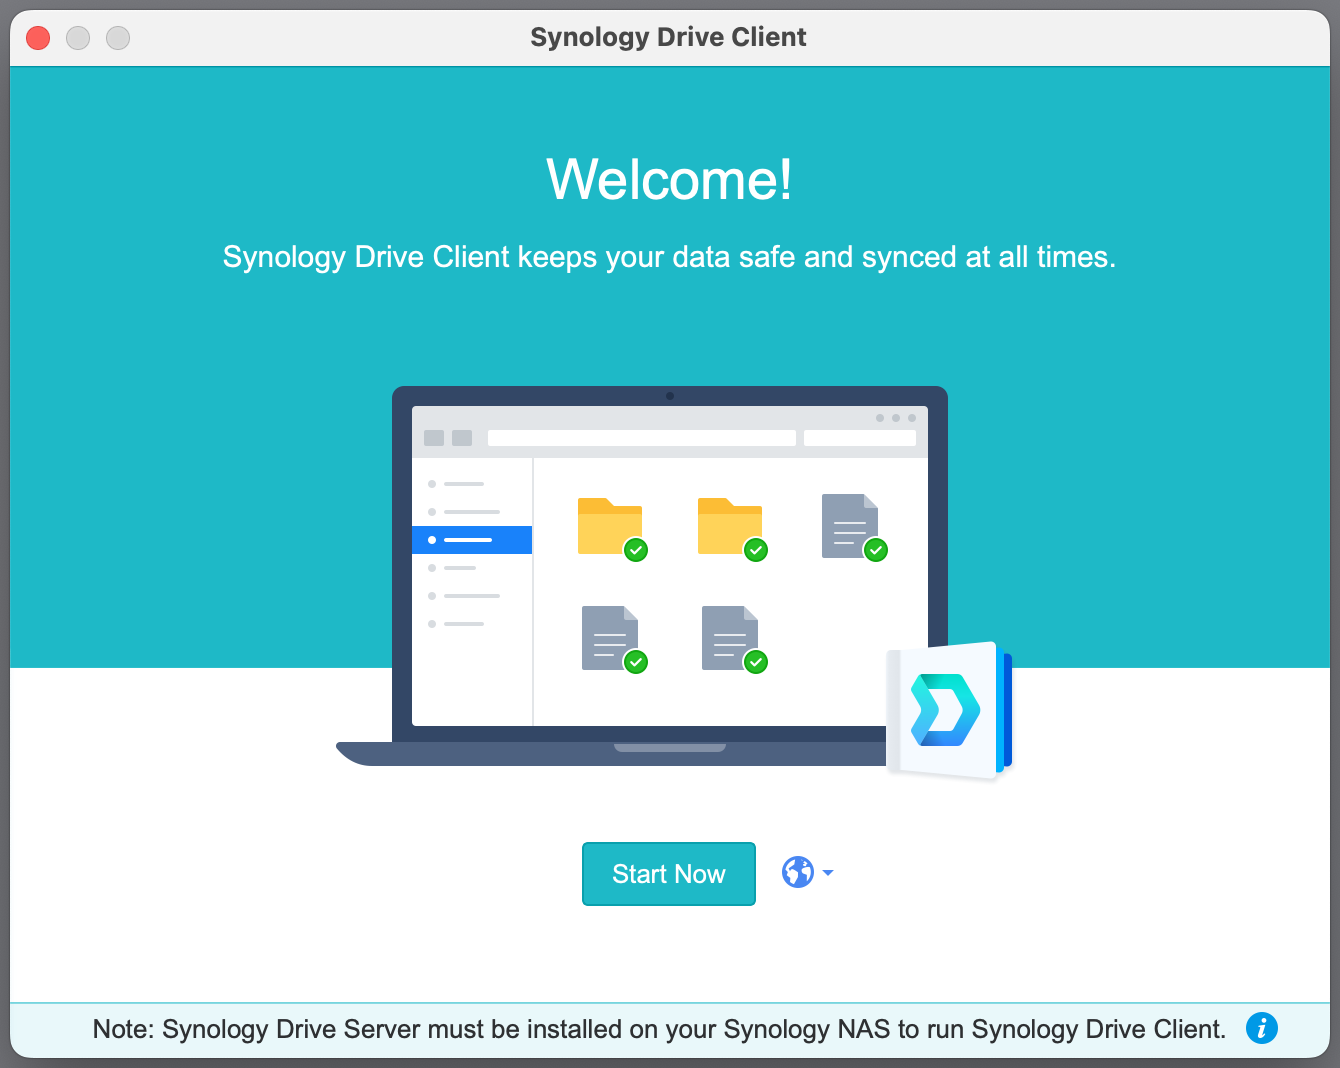
A piece of general advice is to update the client with the server application. In particular new functionality only works when you update both sides.
Computer applications
Examples of client software for your computer are Synology Drive, Chat, Note, and Surveillance Station. Still, there are several standalone applications like Synology Assistant to find your NAS on your local network. There are versions for Windows and macOS and, to a lesser extent, Linux.

For these applications, there is no automatic update mechanism. You have to check the website. I discuss how Download Center works below.
Mobile apps
Similar to computer applications, several mobile apps for tablets and smartphones exist. Apple’s iOS/iPadOS and Android are supported via the AppStore and Google PlayStore.
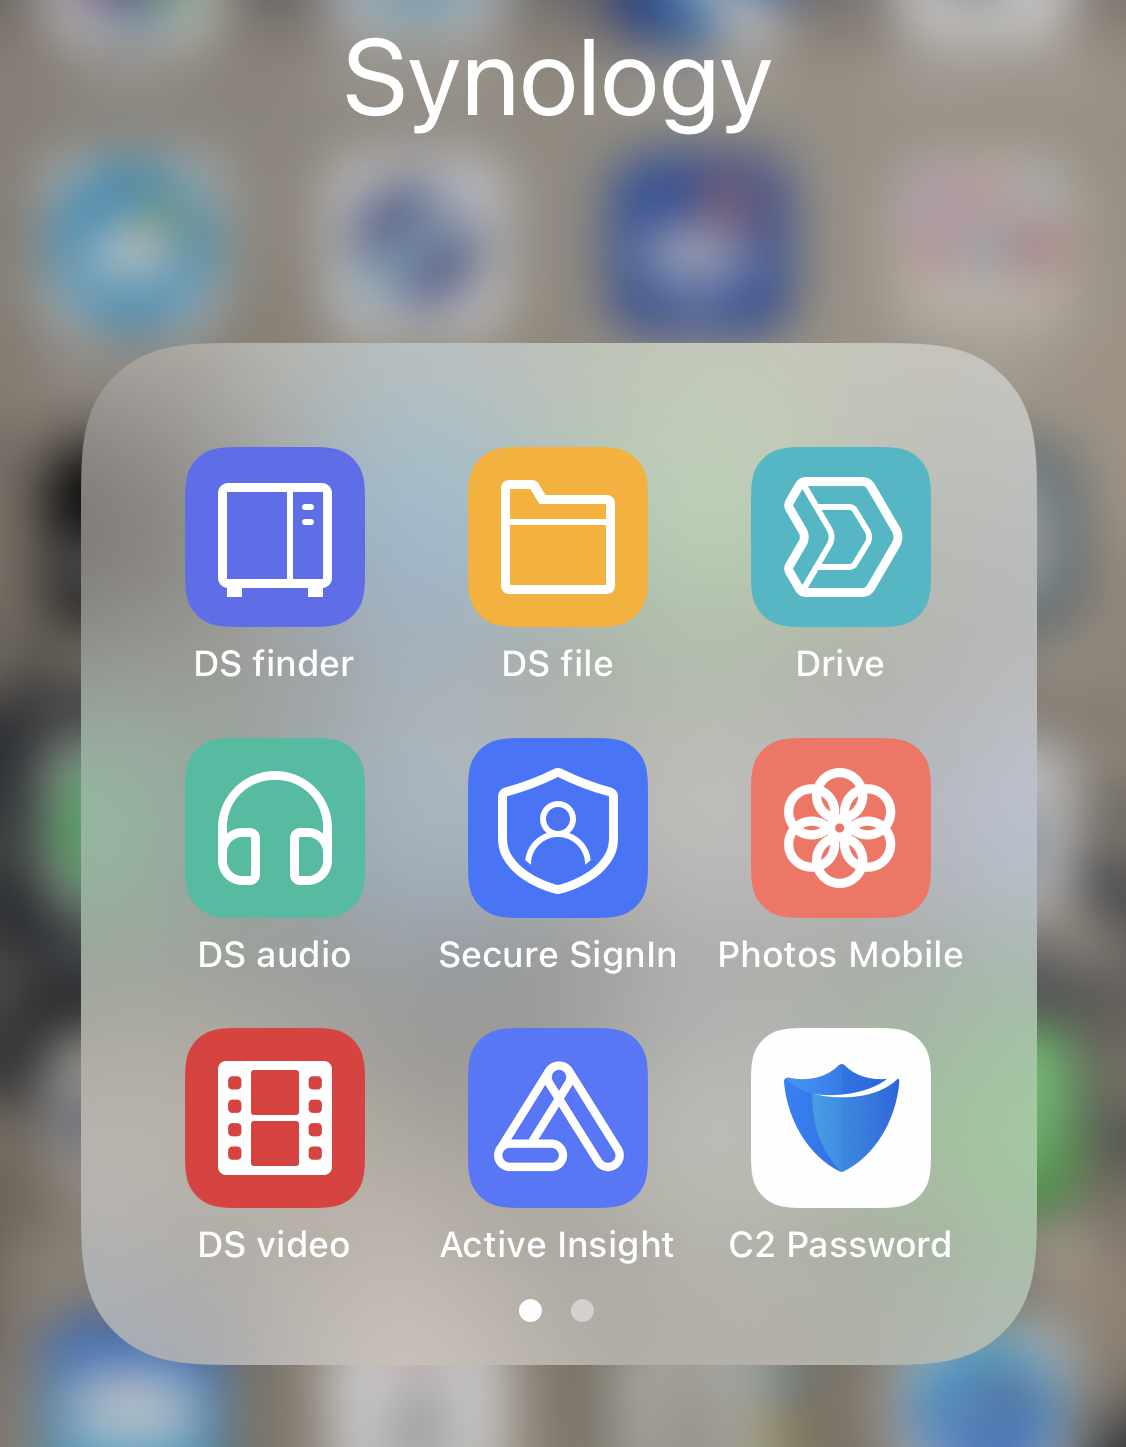
Synology apps include DS Finder, DS File, Drive, DS Audio, Photos Mobile, and Secure Signin.
Downloading Updates
Synology offers a comprehensive download service via its website at Download Center. You can find current and older DSM installation files, packages, desktop utilities, and Android apps here.
This is the link to the Download Center. You might want to open a localized version. You can also find it via Synology’s main page, Support, Resources, and Download Center.
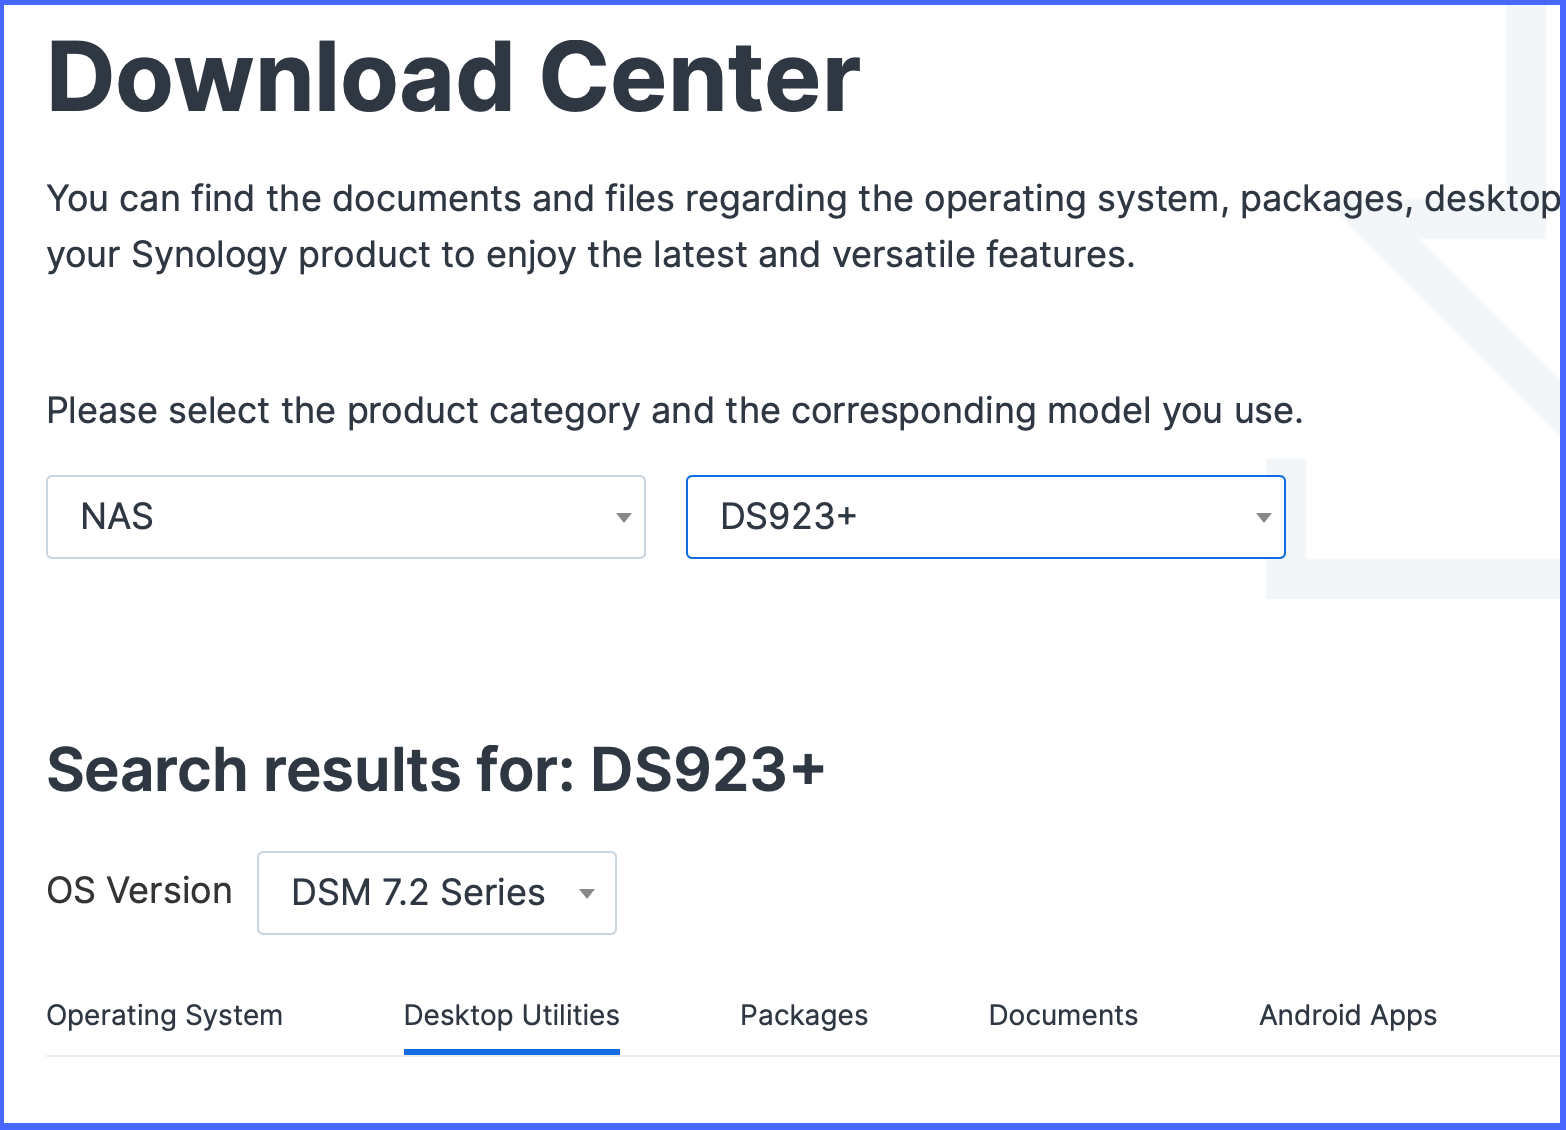
At the Download Center page, select the product type. Choose NAS unless you want to download virtualDSM. In that case, choose Others.
In the second drop-down list, you select your Synology Product. It is essential to choose the correct name because DSM and packages are tailor-made for each product. The website will search for your input.
After a few seconds, the website displays the search result for your device.
In a drop-down list, you can select the OS version (DSM) you want. Below that, you find five (sometimes six) tabs:
- Operating System
- Desktop Utilities
- Packages
- Documents
- Android Apps
- EOL products (sometimes, in combination with older OS versions)
The Desktop Utilities tab is for your computer applications. The Packages tab lets you download packages outside of Package Center.
Thanks for reading
This post is donation-ware, and I made it to help you. Please consider leaving a comment or even buying me a coffee if it did. I will be eternally grateful.
Paul Steunebrink / Storage Alchemist
